How to remove bathroom sink drain; are you facing the frustrating challenge of a clogged bathroom sink drain? Don’t worry, you’re not alone! Many homeowners encounter this issue and struggle to find the right solution. In this comprehensive guide, we will walk you through the process of removing a bathroom sink drain step by step. Whether you’re a seasoned DIY enthusiast or a novice, this article will provide you with the expertise and know-how to successfully tackle this common household problem.
Why Is My Bathroom Sink Drain Clogged?
Before we delve into the process of removing a bathroom sink drain, it’s important to understand why clogs occur in the first place. A bathroom sink drain can become clogged due to a variety of reasons:
- Hair: Hair is one of the most common culprits behind sink drain clogs. Over time, strands of hair can accumulate in the drain pipe and form a blockage.
- Soap Scum: Soap residue and scum can build up inside the drain, especially if you have hard water. This sticky substance can trap other debris and contribute to clogs.
- Dirt and Debris: Dust, dirt, and other small particles can find their way into the sink drain and accumulate over time, obstructing the flow of water.
Now that we have a better understanding of why clogs occur, let’s move on to the tools and materials you will need to remove a bathroom sink drain.

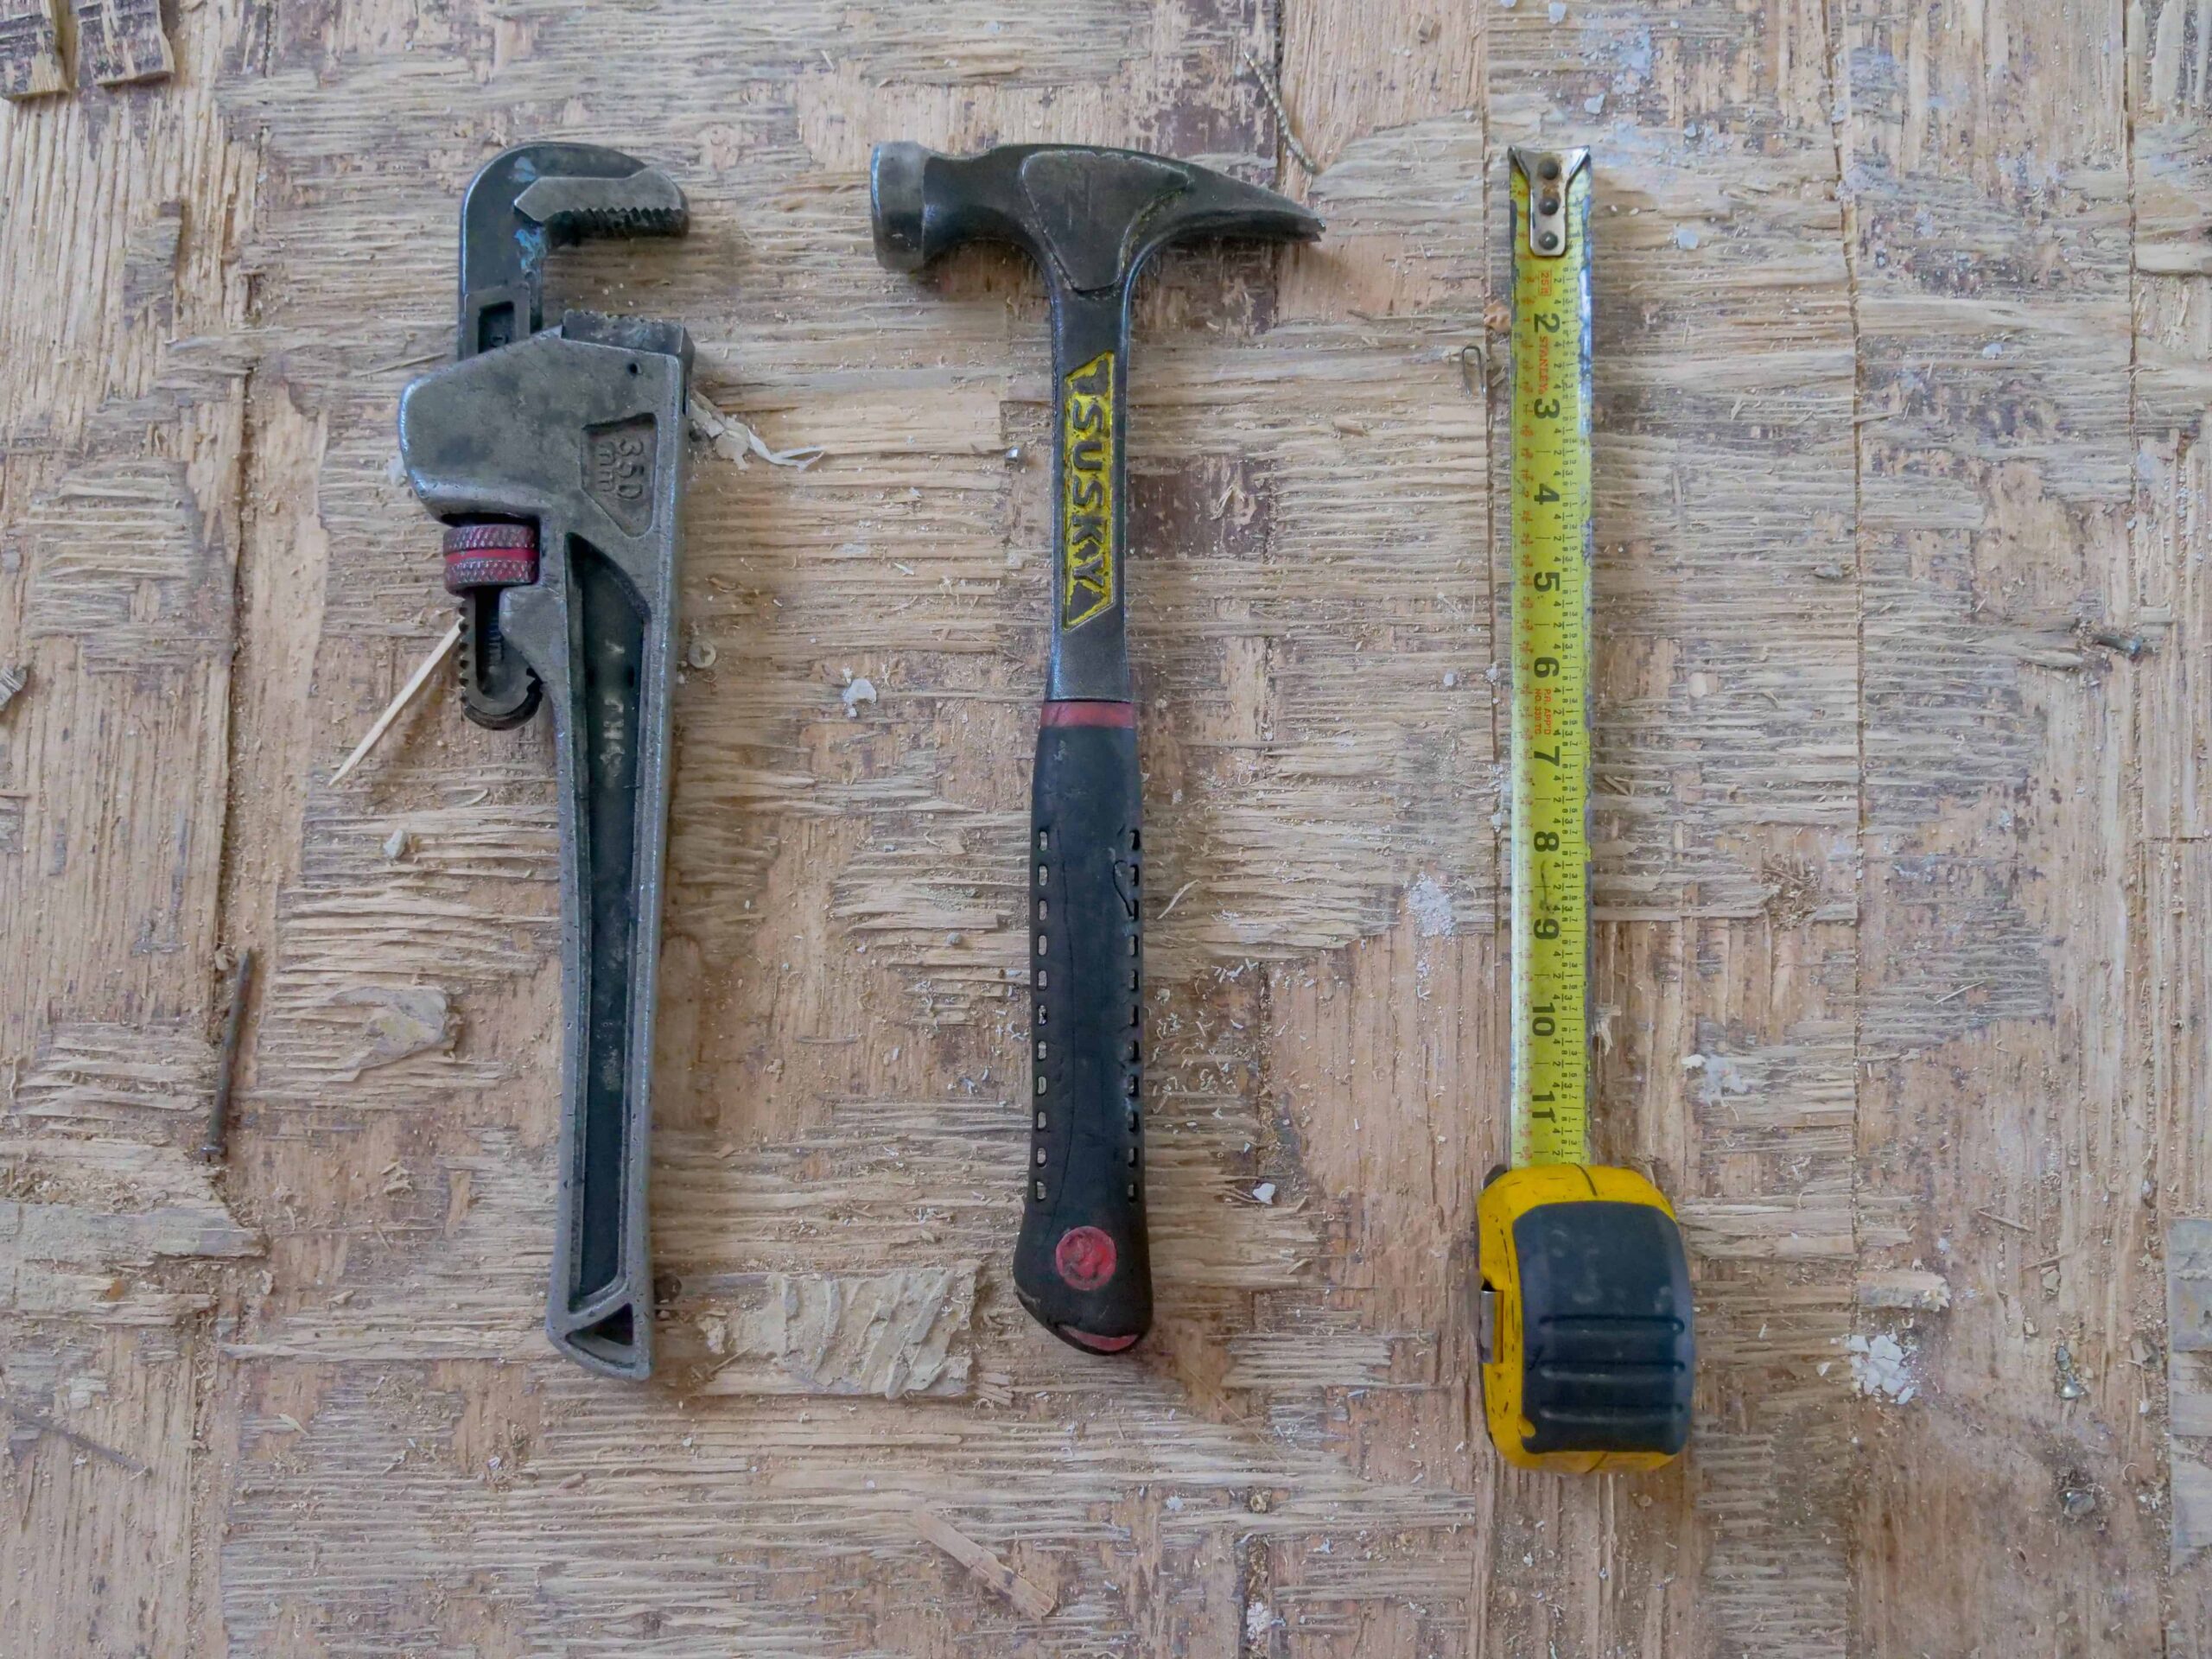
Tools and Materials You Will Need
To successfully remove a bathroom sink drain, gather the following tools and materials:
- Adjustable wrench: An adjustable wrench will be invaluable in loosening and tightening the necessary components.
- Pliers: Pliers will come in handy for gripping and maneuvering small parts during the removal process.
- Screwdriver: Depending on the type of sink drain, you may need a screwdriver to remove screws or fasteners.
- Plumber’s putty: Plumber’s putty is used to create a watertight seal between the sink and drain.
- Bucket: A bucket will be useful for catching any water or debris that may spill during the process.
- Clean cloth or rag: Keep a clean cloth or rag nearby to wipe away any excess water or residue.
- Safety goggles and gloves: It’s essential to prioritize safety while working on plumbing projects. Protect your eyes with safety goggles and your hands with gloves.
With these tools and materials at your disposal, you’re ready to proceed with removing the bathroom sink drain. But before you do, it’s crucial to take some precautions and follow safety measures.
Precautions and Safety Measures
Removing a bathroom sink drain involves working with water and potentially harmful substances. To ensure your safety, keep the following precautions in mind:
- Turn off the water: Before you begin, shut off the water supply to the sink. Look for the water valves under the sink and turn them clockwise to close them.
- Protect the surrounding area: Place a towel or old cloth on the bathroom countertop to protect it from scratches or damage.
- Ventilate the area: Open a window or turn on the bathroom fan to ensure proper ventilation while working with any chemicals or cleaning agents
- Handle chemicals with care: If you’re using any chemical drain cleaners, carefully follow the instructions on the packaging and avoid contact with your skin or eyes.
Now that you’ve taken the necessary precautions, let’s dive into the step-by-step process of removing a bathroom sink drain.

How to Remove a Bathroom Sink Drain: Step by Step
Step 1: Prepare the workspace
- Clear the area under the sink by removing any stored items or cleaning supplies.
- Place a bucket beneath the sink to catch any water or debris.
- Put on your safety goggles and gloves to protect yourself during the process.
Step 2: Remove the drain stopper
- Locate the drain stopper at the bottom of the sink.
- Depending on the type of stopper, you may need to unscrew it counterclockwise or lift it straight up to remove it.
- Set the drain stopper aside in a safe place.
Step 3: Loosen the drain assembly
- Locate the drain assembly, which is the section connecting the sink drain to the plumbing below.
- Use an adjustable wrench to loosen the nut connecting the drain assembly to the sink.
- Turn the wrench counterclockwise to loosen the nut. If necessary, use pliers to grip the assembly for additional leverage.
Step 4: Disconnect the drain assembly
- Once the nut is loose, carefully lift the drain assembly out of the sink.
- If there is a horizontal pivot rod connected to the assembly, disconnect it from the vertical rod by removing the retaining nut or clip.
Step 5: Clean the drain and pipes
- Inspect the removed drain assembly and clean off any accumulated debris or residue.
- Use a wire brush or pipe cleaner to clean the inside of the drain pipe.
- Check the pipes below the sink for any clogs or blockages. If necessary, use a plumber’s snake or auger to clear them.
Step 6: Reassemble the drain
- Apply a thin layer of plumber’s putty to the underside of the drain flange.
- Insert the drain flange back into the sink’s drain opening.
- From below the sink, thread the drain assembly back into place and tighten the nut with an adjustable wrench.
- Reconnect the horizontal pivot rod, if applicable, and secure it with the retaining nut or clip.
Step 7: Test for leaks
- Turn on the water supply to the sink and let it run for a few minutes.
- Check for any leaks around the drain assembly or pipes. If you notice any leaks, tighten the connections or consider applying plumber’s tape to create a better seal.
Congratulations! You have successfully removed and reinstalled your bathroom sink drain. By following these steps and taking the necessary precautions, you can maintain a clean and smoothly running bathroom sink.

Did you find removing a bathroom sink drain as a daunting task? With the right tools, materials, and knowledge, you can tackle this common household issue with confidence. By following the step-by-step guide outlined in this article, you’ll be able to remove your bathroom sink drain, address any clogs, and restore optimal drainage. Remember to take precautions, prioritize safety, and consider natural alternatives for a more eco-friendly approach. Now go ahead and take charge of your clogged bathroom sink drain!
FAQs on How to Remove Bathroom Sink Drain
Q 1: How often should I clean my bathroom sink drain?
It’s a good practice to clean your bathroom sink drain at least once every three months to prevent clogs and maintain optimal water flow. However, if you notice slow drainage or foul odors, it’s advisable to clean the drain more frequently.
Q 2: Can I use chemical drain cleaners to unclog the sink?
While chemical drain cleaners can be effective in removing clogs, they often contain harsh chemicals that can damage your pipes or harm the environment. It’s best to use natural alternatives or mechanical methods, such as a plunger or plumber’s snake, to unclog your sink drain.
Q 3: What if the drain stopper is stuck?
If the drain stopper is stuck and cannot be removed easily, try applying some lubricant, such as WD-40, to loosen it. Gently wiggle and twist the stopper while pulling it upward to free it from the drain.
Q 4: Is there a natural way to unclog a bathroom sink drain?
Yes, several natural methods can help unclog a bathroom sink drain. One popular option is to pour a mixture of baking soda and vinegar down the drain, followed by hot water. The chemical reaction between the two ingredients can help dissolve debris and clear the clog.
Q 5: How do I prevent future clogs in my bathroom sink drain?
To prevent future clogs in your bathroom sink drain, consider implementing these preventive measures:
- Use a drain strainer or stopper to catch hair and debris before they enter the drain.
- Avoid pouring grease, oil, or food scraps down the sink.
- Flush the drain regularly with hot water to help clear away any buildup.
- Consider using a natural enzyme cleaner once a month to keep the drain flowing smoothly.
Q 6: Should I hire a professional plumber to remove the sink drain?
If you’re uncomfortable performing the task yourself or if you encounter any complications during the process, it’s advisable to hire a professional plumber. They have the expertise and specialized tools to handle various plumbing issues effectively.
Q 7: How do you unscrew a bathroom sink drain?
Freeing your bathroom sink drain from its confinements is an empowering task. To unscrew it, locate the drain plug beneath the sink. Use a wrench or pliers to grip the drain body tightly. Rotate counterclockwise with determination, feeling the exhilaration of breaking the seal. Release the drain and embrace your victory!
Q 8: Can sink drains be removed?
Certainly! Sink drains can be removed. By following the appropriate steps, such as using pliers or a wrench to unscrew the drain, it is possible to detach and replace a sink drain. Remember to exercise caution and consult professional assistance if needed.
Q 9: How do you remove a sink drain line?
To remove a sink drain line, follow these steps:
- Locate the P-trap: Find the curved pipe beneath the sink, known as the P-trap, which connects the drain line.
- Prepare a bucket: Place a bucket or container beneath the P-trap to catch any water or debris.
- Loosen the connections: Use a wrench or pliers to loosen the slip nuts connecting the P-trap to the drain line and the sink tailpiece.
- Remove the P-trap: Carefully detach the P-trap by unscrewing the slip nuts. Empty any water or residue into the bucket.
- Disconnect the drain line: Next, loosen the connections between the drain line and the main plumbing system using the appropriate tools.
- Gently remove the drain line: Once the connections are loosened, you can carefully pull out the drain line from the sink and the plumbing system.
Remember to exercise caution and seek professional help if you’re unsure about the process or encounter any difficulties.


Pingback: Why Are There Ants in My Bathroom: The Intricate Intruders