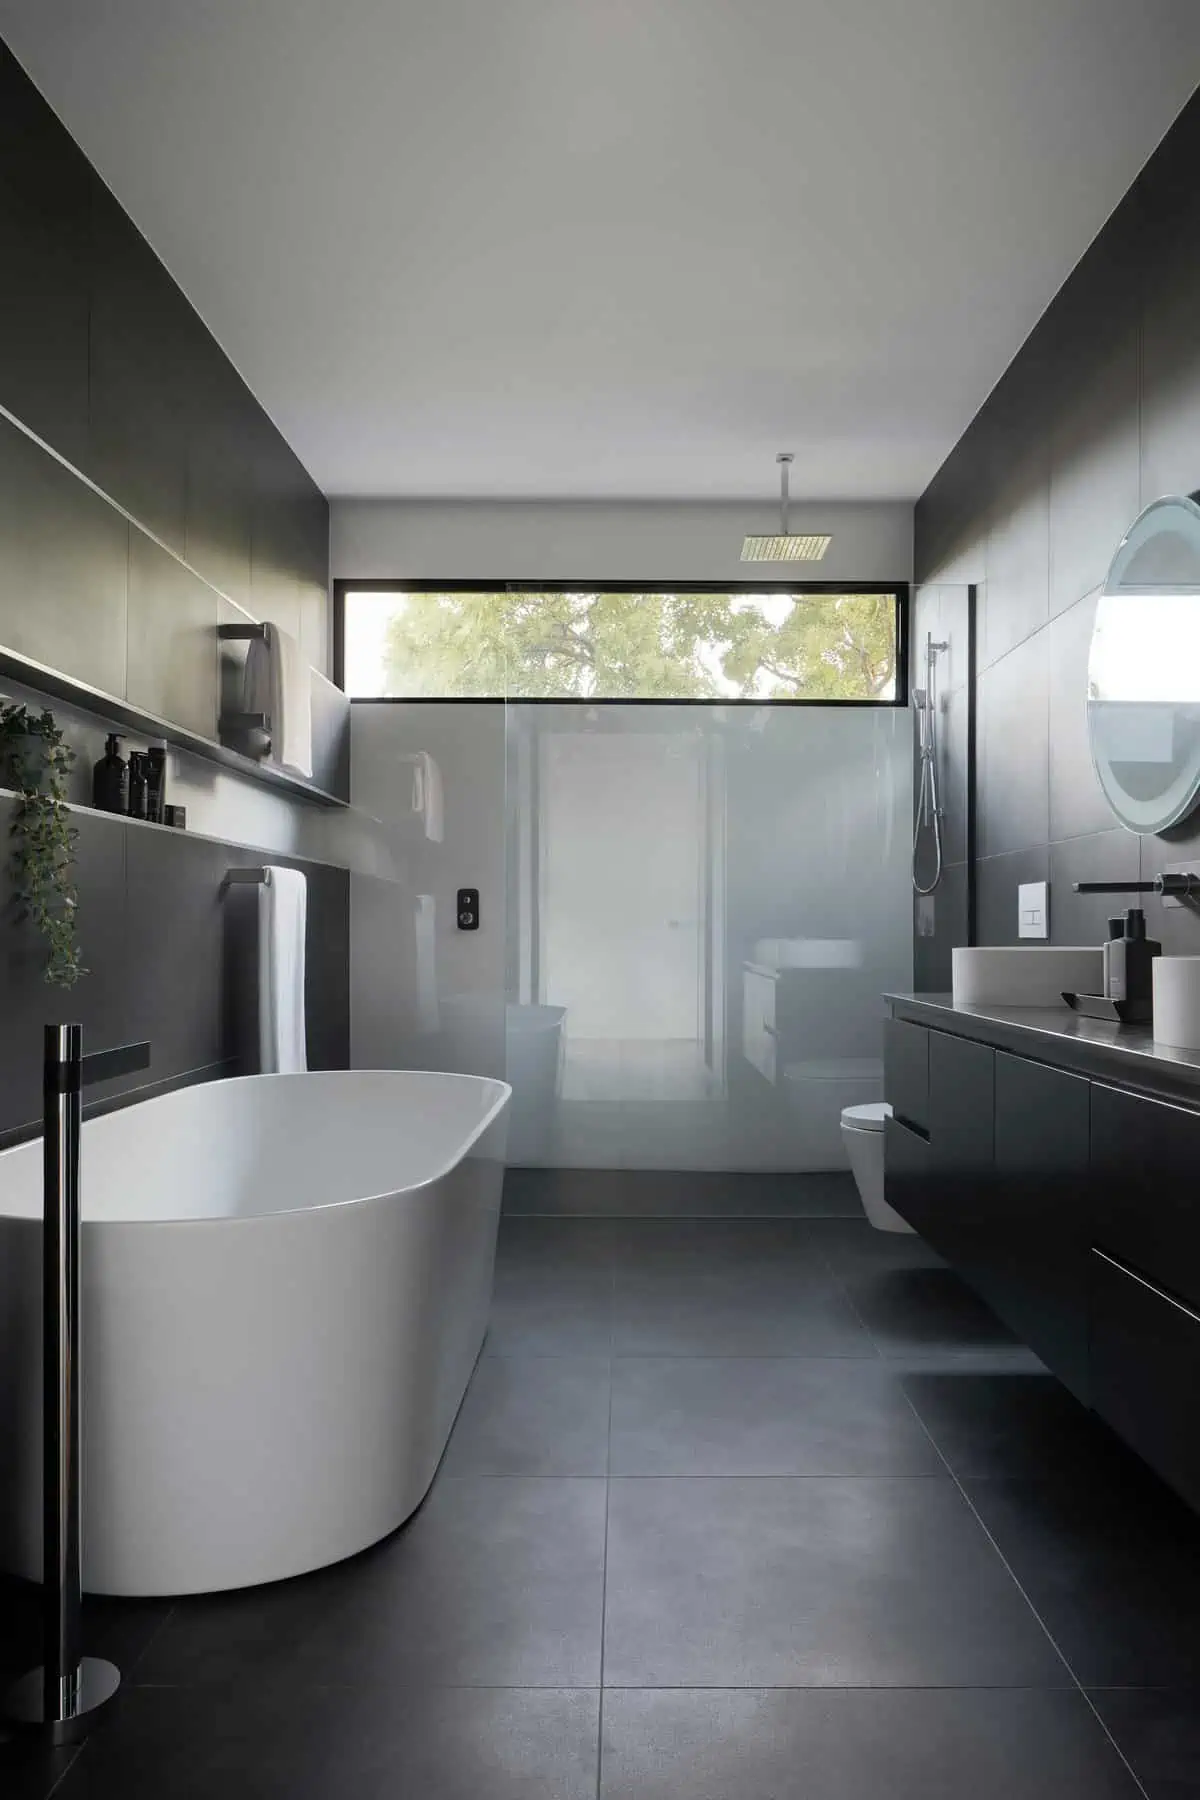
Learn how to tile a bathroom floor. Are you tired of the outdated and worn-out look of your bathroom floor? Do you want to give it a fresh and stylish makeover?
Look no further! In this guide, we will take you through the process of tiling your bathroom floor, ensuring that you achieve professional-looking results that will transform your space. So roll up your sleeves, put on your work boots, and let’s dive into how to tile a bathroom floor!
Why Tile Your Bathroom Floor?
Before we jump into the nitty-gritty of tiling your bathroom floor, let’s explore why it’s a worthwhile project. Your bathroom floor endures daily foot traffic, moisture, and the occasional splashes. Over time, this can lead to wear and tear, leaving your floor looking dull and unappealing. By tiling your bathroom floor, you not only enhance its aesthetics but also improve its durability and ease of maintenance.
Getting Started: Preparing for Success
Assessing Your Floor
The first step in tiling your bathroom floor is to assess its current condition. Inspect for any cracks, unevenness, or damage that may need to be addressed before laying the tiles. It’s essential to have a smooth and level surface to ensure a successful tiling job.
Gather the Necessary Materials and Tools
Before you begin tiling your bathroom floor, it’s essential to gather all the materials and tools you’ll need for the project. Here’s a list of items you should have:
- Ceramic or porcelain tiles
- Tile adhesive
- Tile spacers
- Grout
- Tile cutter or wet saw
- Trowel
- Notched trowel
- Level
- Measuring tape
- Sponge
- Bucket
- Grout float
- Rubber gloves
- Safety glasses
Having all these items ready will ensure a smooth and uninterrupted tiling process.
Prepare the Subfloor

To ensure proper adhesion, it’s crucial to clean and prepare the surface before tiling. Start by removing any existing flooring and thoroughly clean the subfloor. Make sure it is free from dust, debris, and grease.
Properly preparing the subfloor is crucial for a long-lasting and professional-looking tile installation. Follow these steps:
- Remove existing flooring
If there is any existing flooring, such as vinyl or carpet, remove it completely. Ensure the subfloor is clean, dry, and free from any debris or imperfections.
- Repair and level the subfloor
Inspect the subfloor for any damage or uneven areas. Repair or replace damaged sections and use a levelling compound to even out any irregularities. A level subfloor is essential for a smooth and flawless tile installation.
Plan the Tile Layout
Planning the tile layout is an essential step to ensure a visually appealing and balanced design. Consider the following aspects:
- Start with a dry layout
Lay out the tiles without adhesive to visualize the pattern and make any necessary adjustments. This step will help you determine the best starting point and avoid awkward tile cuts.
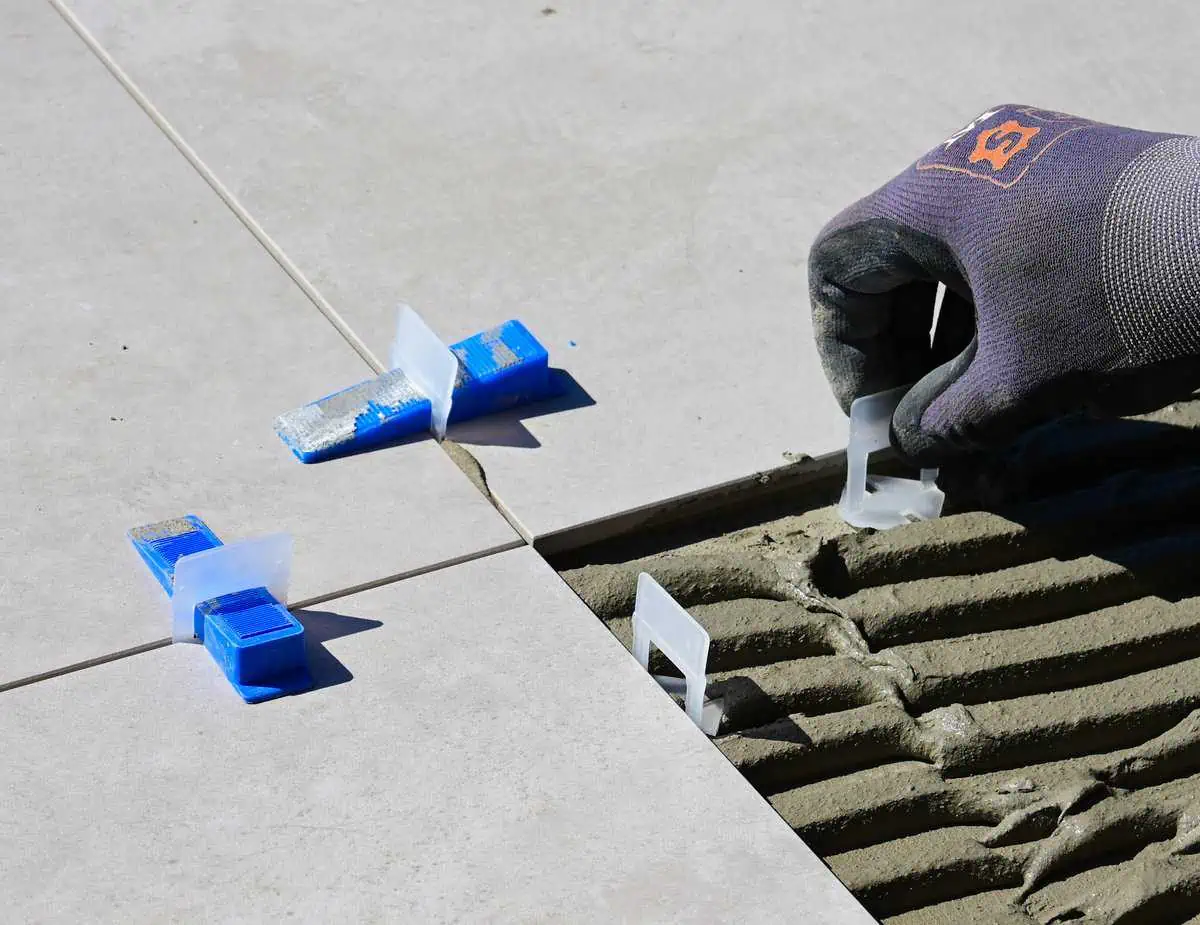
- Use tile spacers
Place tile spacers between each tile to ensure consistent spacing and uniform grout lines. The size of the spacers will depend on the desired grout line width.
- Consider focal points
If your bathroom has any focal points like a vanity or bathtub, plan the tile layout accordingly to highlight or complement these features.
Apply the Tile Adhesive
Now that you’ve prepared the subfloor and planned the tile layout, it’s time to apply the tile adhesive and start tiling. Follow these steps:
- Mix the adhesive
Prepare the tile adhesive according to the manufacturer’s instructions. Ensure you achieve the right consistency for easy application.
- Apply adhesive to the subfloor
Using a trowel, spread a layer of adhesive onto the subfloor. Work in small sections to prevent the adhesive from drying out before laying the tiles.
- Use a notched trowel
Create ridges in the adhesive using a notched trowel. The size of the notches should match the recommended notch size for your tiles.
- Start laying the tiles
Begin placing the tiles on the adhesive, following your planned layout. Press each tile firmly into the adhesive and use a level to ensure they are even and ensure proper bonding. Use tile spacers to maintain consistent gaps between the tiles. Continue this process until all the tiles are laid.
- Cut tiles when needed
Inevitably, you’ll encounter areas where full tiles won’t fit. To tackle this, measure and mark the tiles that need cutting. Use a tile cutter or wet saw to make precise cuts and ensure they fit seamlessly into the designated spaces.
Grouting and Finishing
Once you’ve installed all the tiles, it’s time to grout the gaps and add the finishing touches. Follow these final steps:
- Mix the grout
Prepare the grout mixture according to the manufacturer’s instructions. Ensure a consistent and workable consistency.
- Apply the grout
Using a grout float, spread the grout diagonally across the tiles, filling the gaps completely. Remove any excess grout with the float at a 45-degree angle.
- Clean the tiles
After applying the grout, use a damp sponge to clean the tiles and remove any grout haze. Rinse the sponge frequently and avoid excess water on the grout lines.
- Final touches
Allow the grout to dry for the recommended time, then use a dry cloth to buff the tiles and achieve a polished look. Install any necessary trims or thresholds to complete the project.
Conclusion
Congratulations! You have successfully learned how to tile your bathroom floor. By following the step-by-step instructions provided in this guide, you can achieve professional-looking results and create a beautiful bathroom space.
So go ahead, embrace the challenge, and create a stunning tiled floor that will impress your guests, enjoy your new tiled bathroom floor and the sense of accomplishment that comes with completing a DIY project.
If you have any further questions or need additional guidance, feel free to reach out to us at Housenvillasenquiry@gmail.com. Happy tiling!
FAQs on How to tile a bathroom floor
Can I tile my bathroom floor over the existing tiles?
Yes, you can tile over existing tiles if they are in good condition and firmly adhered to the subfloor. However, keep in mind that adding another layer of tiles will increase the height of your floor, so you might need to adjust door clearances accordingly and also reduce the space between roof ceiling and the floor or may look congested. So, first ensure the changes it will do before taking the decision.
How long does it take to tile a bathroom floor?
The time it takes to tile a bathroom floor depends on various factors, such as the size of the room, the complexity of the tile layout, and your level of experience. On average, it can take anywhere from a few days to a week to complete the project. Yes, if you are lazy it may take years but if you are excited to make changes you can finish it off in days.
Do I need to hire a professional to tile my bathroom floor?
Tiling your bathroom floor is a project that can be tackled by motivated homeowners with basic DIY skills. However, if you lack confidence or are dealing with complex issues like uneven subfloors, it’s advisable to hire a professional to ensure a flawless finish. If you have planned and thought constructively well you can go ahead and do the changes, but if you want hassle free then of course Professional is better.
How do I maintain my tiled bathroom floor?
To keep your tiled bathroom floor looking its best, regularly sweep or vacuum to remove dirt and debris. Clean the tiles with a mild detergent or a specially formulated tile cleaner. Avoid using harsh chemicals or abrasive materials that can damage the tiles. Also, always use vipers to drain standing water, make it a habit for every person wetting the floor or surface area this will not only keep it dry and clean but also avoid the floor from being slippery.
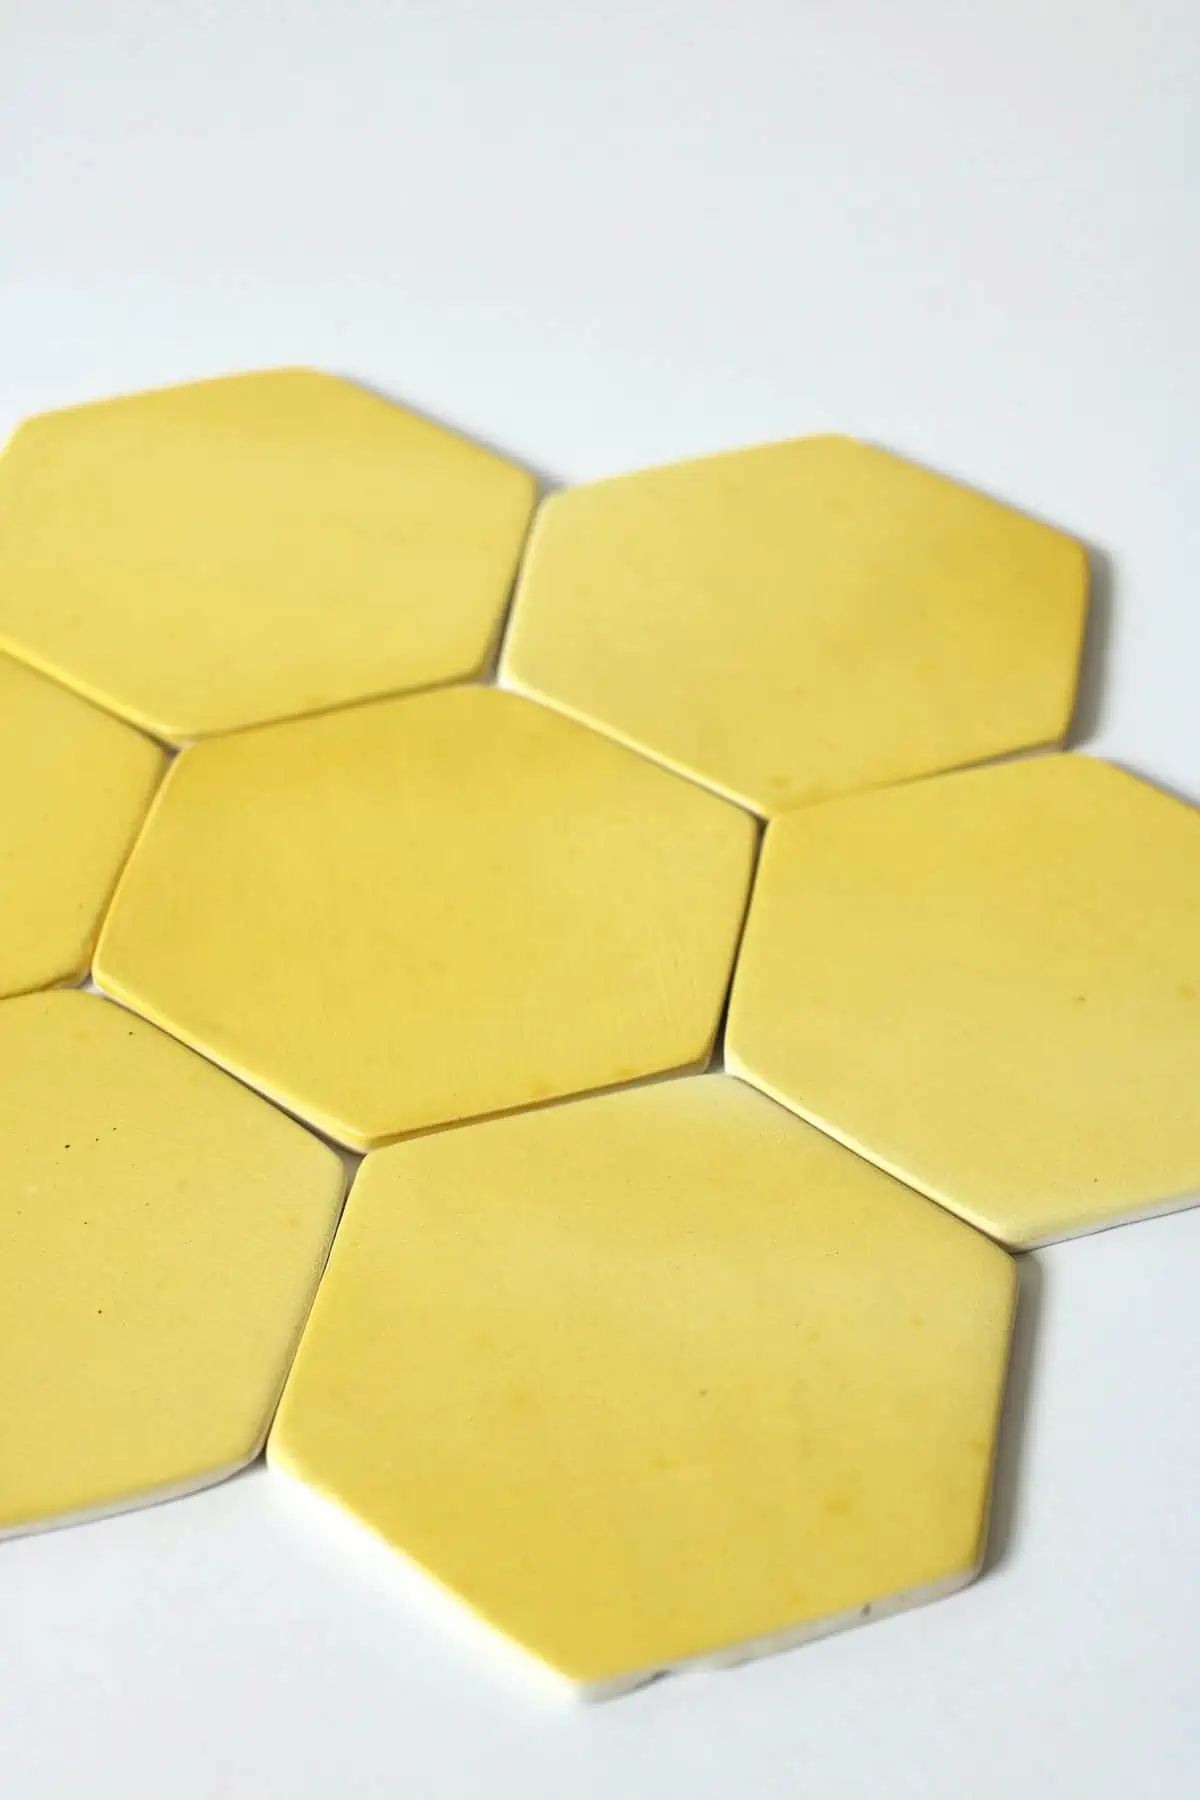
Can I use any type of tile for my bathroom floor?
While there’s a wide variety of tiles available, not all are suitable for bathroom floors. It’s best to choose tiles specifically designed for floor use, such as ceramic or porcelain tiles. These types of tiles are durable, water-resistant, and easy to clean. Go for beach theme, if you prefer, in light oceanic blue to white sandy tiles.
How can I prevent my bathroom floor tiles from becoming slippery?
To reduce the risk of slipping on your bathroom floor tiles, opt for tiles with textured surfaces or a slip-resistant finish. Additionally, placing non-slip mats or rugs near the shower or bathtub can provide added safety. But don’t forget to drain the water from your viper so that it dries at the earliest.


Pingback: Floor Remodel: 20 Trendy and Innovative Ideas
Pingback: 10 Inspiring Home Renovation Ideas to Transform Your Living Space in 2023
Pingback: What to Do When Your Bathroom Floods - House N Villas
Pingback: Jack and Jill Bathroom Ideas: 58 Functional and Stylish Idea - House N Villas
Pingback: Home Remodeling: Create a Home that reflects your Personal Style