Are you looking for ways to raise your sunken living room and transform it into an inviting and functional space?
A sunken living room, while stylish, can present challenges in terms of functionality and accessibility. Whether you are dealing with an outdated design or just looking to add a touch of modernity, this article will help you turn your sunken living room into a functional and inviting space.
How to raise the floor of a sunken room?
Before diving into the various methods, let’s understand the basic process of raising a sunken living room. The main goal is to elevate the floor surface to the level of the surrounding rooms. This process involves careful planning, structural considerations, and skilled execution to ensure a seamless transition. So, let’s get started with the steps to accomplish this task.
1. Assessment and Planning
The first step is to assess the current state of your sunken living room and create a detailed plan. Measure the height difference between the sunken area and the surrounding rooms. Determine the feasibility of raising the floor without compromising the structural integrity of your home. Engage with professional contractors and architects to get expert advice on the best approach for your specific situation.

2. Permits and Regulations
Check local building codes and regulations before proceeding with any modifications to your living room. Depending on the extent of the renovation, you may need to obtain permits from the local authorities. Ensuring compliance with regulations is crucial to avoid any legal issues down the road.

3. Removing Fixtures and Furniture
Before commencing the construction work, remove all furniture, fixtures, and decorations from the sunken living room area. Clearing the space will allow for easy access and smooth progress during the renovation process.
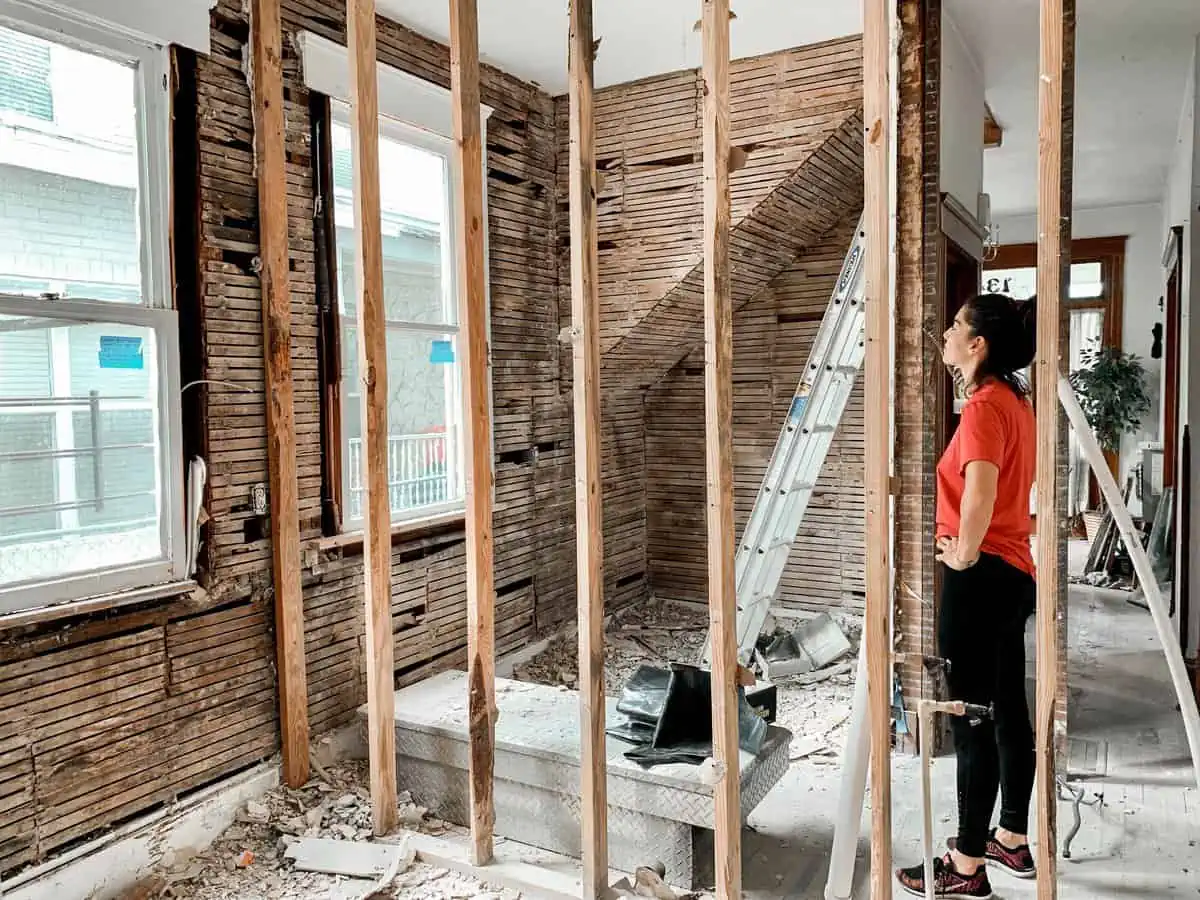
4. Supporting the Structure
Since you will be altering the existing floor structure, it is vital to provide temporary supports to bear the load while the modifications are underway. This step ensures the safety of your home during the renovation process.
Raising the Floor
Now comes the main task of raising the sunken living room floor. Various methods can be used, including:
a. Concrete Fill
One common method involves filling the sunken area with a self-leveling concrete mix. This approach is cost-effective and provides a solid foundation for the new floor surface.

b. Timber Framing
Using timber frames to raise the floor is another option. This method allows for flexibility and can accommodate utility and plumbing changes.

c. Screw Jacks
Screw jacks are adjustable support systems that can lift the floor gradually. This method allows for precise adjustments and ensures a level floor.
Adding Finishing Touches
Once the floor is raised to the desired level, it’s time to add the finishing touches. Install new flooring, such as hardwood, laminate, or tiles, that complements the overall design of your living room. Reinstall the furniture and fixtures to complete the transformation.

Tips for a Successful Sunken Living Room Transformation
To ensure a successful transformation, here are some essential tips to consider:
Embrace Natural Light
To make your living room feel more open and spacious, maximize natural light by using sheer curtains or blinds.

Opt for Neutral Colors
Choose neutral colors for walls and furniture to create a timeless and elegant look.

Add Functional Lighting
Strategically place floor lamps and table lamps to create a cozy and inviting ambiance.

Create Zones
Divide your living room into functional zones for entertaining, reading, or relaxation.

Incorporate Greenery
Add houseplants or indoor gardens to bring a touch of nature into your living space.

Install Built-in Storage
Maximize space and reduce clutter by incorporating built-in shelves or cabinets.

Conclusion
Transforming a sunken living room into a seamless and inviting space requires careful planning, skilled execution, and professional guidance. By following the outlined steps and incorporating expert tips, you can achieve a successful renovation that enhances the aesthetics and functionality of your living space. Remember to engage with experienced professionals and adhere to local regulations to ensure a smooth and satisfactory transformation. So, go ahead and raise your sunken living room to create a space that exudes warmth, comfort, and style.
Frequently Asked Questions (FAQs)
1. Is it possible to raise a sunken living room without professional help?
A: While some minor adjustments may be possible, raising a sunken living room is a complex task that requires professional expertise and proper planning to ensure safety and structural integrity.
2. What is the average cost of raising a sunken living room?
A: The cost varies depending on the extent of the renovation and the chosen method. On average, it can range from $5,000 to $15,000.
3. Will raising the living room floor affect the foundation of my house?
A: When done correctly and with proper structural support, raising the living room floor should not negatively impact the foundation of your house.
4. How long does the entire process take?
A: The duration of the process depends on the complexity of the project, but it typically takes several weeks to complete.
5. Can I install underfloor heating during the renovation?
A: Yes, raising the living room floor provides an excellent opportunity to install underfloor heating for added comfort and warmth.
6. Can I raise a sunken living room with a concrete slab foundation?
A: Raising a sunken living room with a concrete slab foundation is possible but may require additional considerations and professional expertise.
7. How do you fill a sunken living room?
A: Embrace the sunken living room’s charm, cocooning it in warmth and intimacy. Soft, plush rugs and inviting cushions elevate its depth, beckoning guests to gather and share laughter. Adorn the space with art and vibrant plants, breathing life into every corner, and watch as memories and joy overflow in this cherished retreat.
8. Can you get rid of a sunken living room?
A: Yes, you can remove a sunken living room by leveling the floor, filling in the depression, and creating a seamless transition with the rest of the house. Professional help may be needed to ensure structural integrity during the removal process.
9. What is the point of a sunken living room?
A: The point of a sunken living room is to add architectural interest and create a sense of depth and dimension in the living space. It can also promote a cozy and intimate atmosphere, as the lowered area allows for more comfortable seating arrangements and a distinct separation from the rest of the room.
10. Do I need a permit to raise a sunken living room?
A: The need for a permit to raise a sunken living room varies depending on local building codes and regulations. In many jurisdictions, structural changes to a home, including raising a floor, would require a building permit. It is essential to check with your local building department to determine the specific requirements for your area before starting the project.
11. Raising a sunken living room with wood or concrete?
A: Raising a sunken living room can be done using either wood or concrete, depending on the structural needs and preferences. Wood can be a lighter and more flexible option, while concrete provides durability and stability. Consider consulting with a professional contractor to determine the best material for your specific situation and ensure a safe and successful project.
12. Step down living room solutions?
A: Solutions for a step-down living room include adding handrails for safety, leveling the floor for a seamless transition, strategic lighting, well-arranged furniture, installing a ramp for accessibility, creating a raised platform, and using floor coverings to define the area. Professional guidance ensures safe and effective modifications.


