Are you tired of the outdated tiles on your bathroom wall? Do you want to give your bathroom a fresh new look? If so, you’ve come to the right place! We will walk you through the process of removing tile from your bathroom wall. Whether you’re a seasoned DIY enthusiast or a beginner, we’ve got you covered. Let’s dive right in and learn how to remove tile from a bathroom wall effectively and efficiently!
Removing Tile from Bathroom Wall
The tiles on your bathroom wall can lose their appeal over time, and you might want to give your bathroom a fresh look. Removing tiles can be a messy and time-consuming process, but by following the right steps, you can achieve excellent results. Let’s start!!
Tools and Materials Needed to Remove Tile from Bathroom Wall
Before you begin the tile removal process from Bathroom wall, it’s important to gather the necessary tools and materials. Here’s a list of what you’ll need:
- Safety goggles
- Dust mask
- Gloves
- Hammer
- Chisel
- Pry bar
- Putty knife
- Scraper
- Bucket
- Plastic sheeting
- Adhesive remover
- Sponge
- Cleaning solution
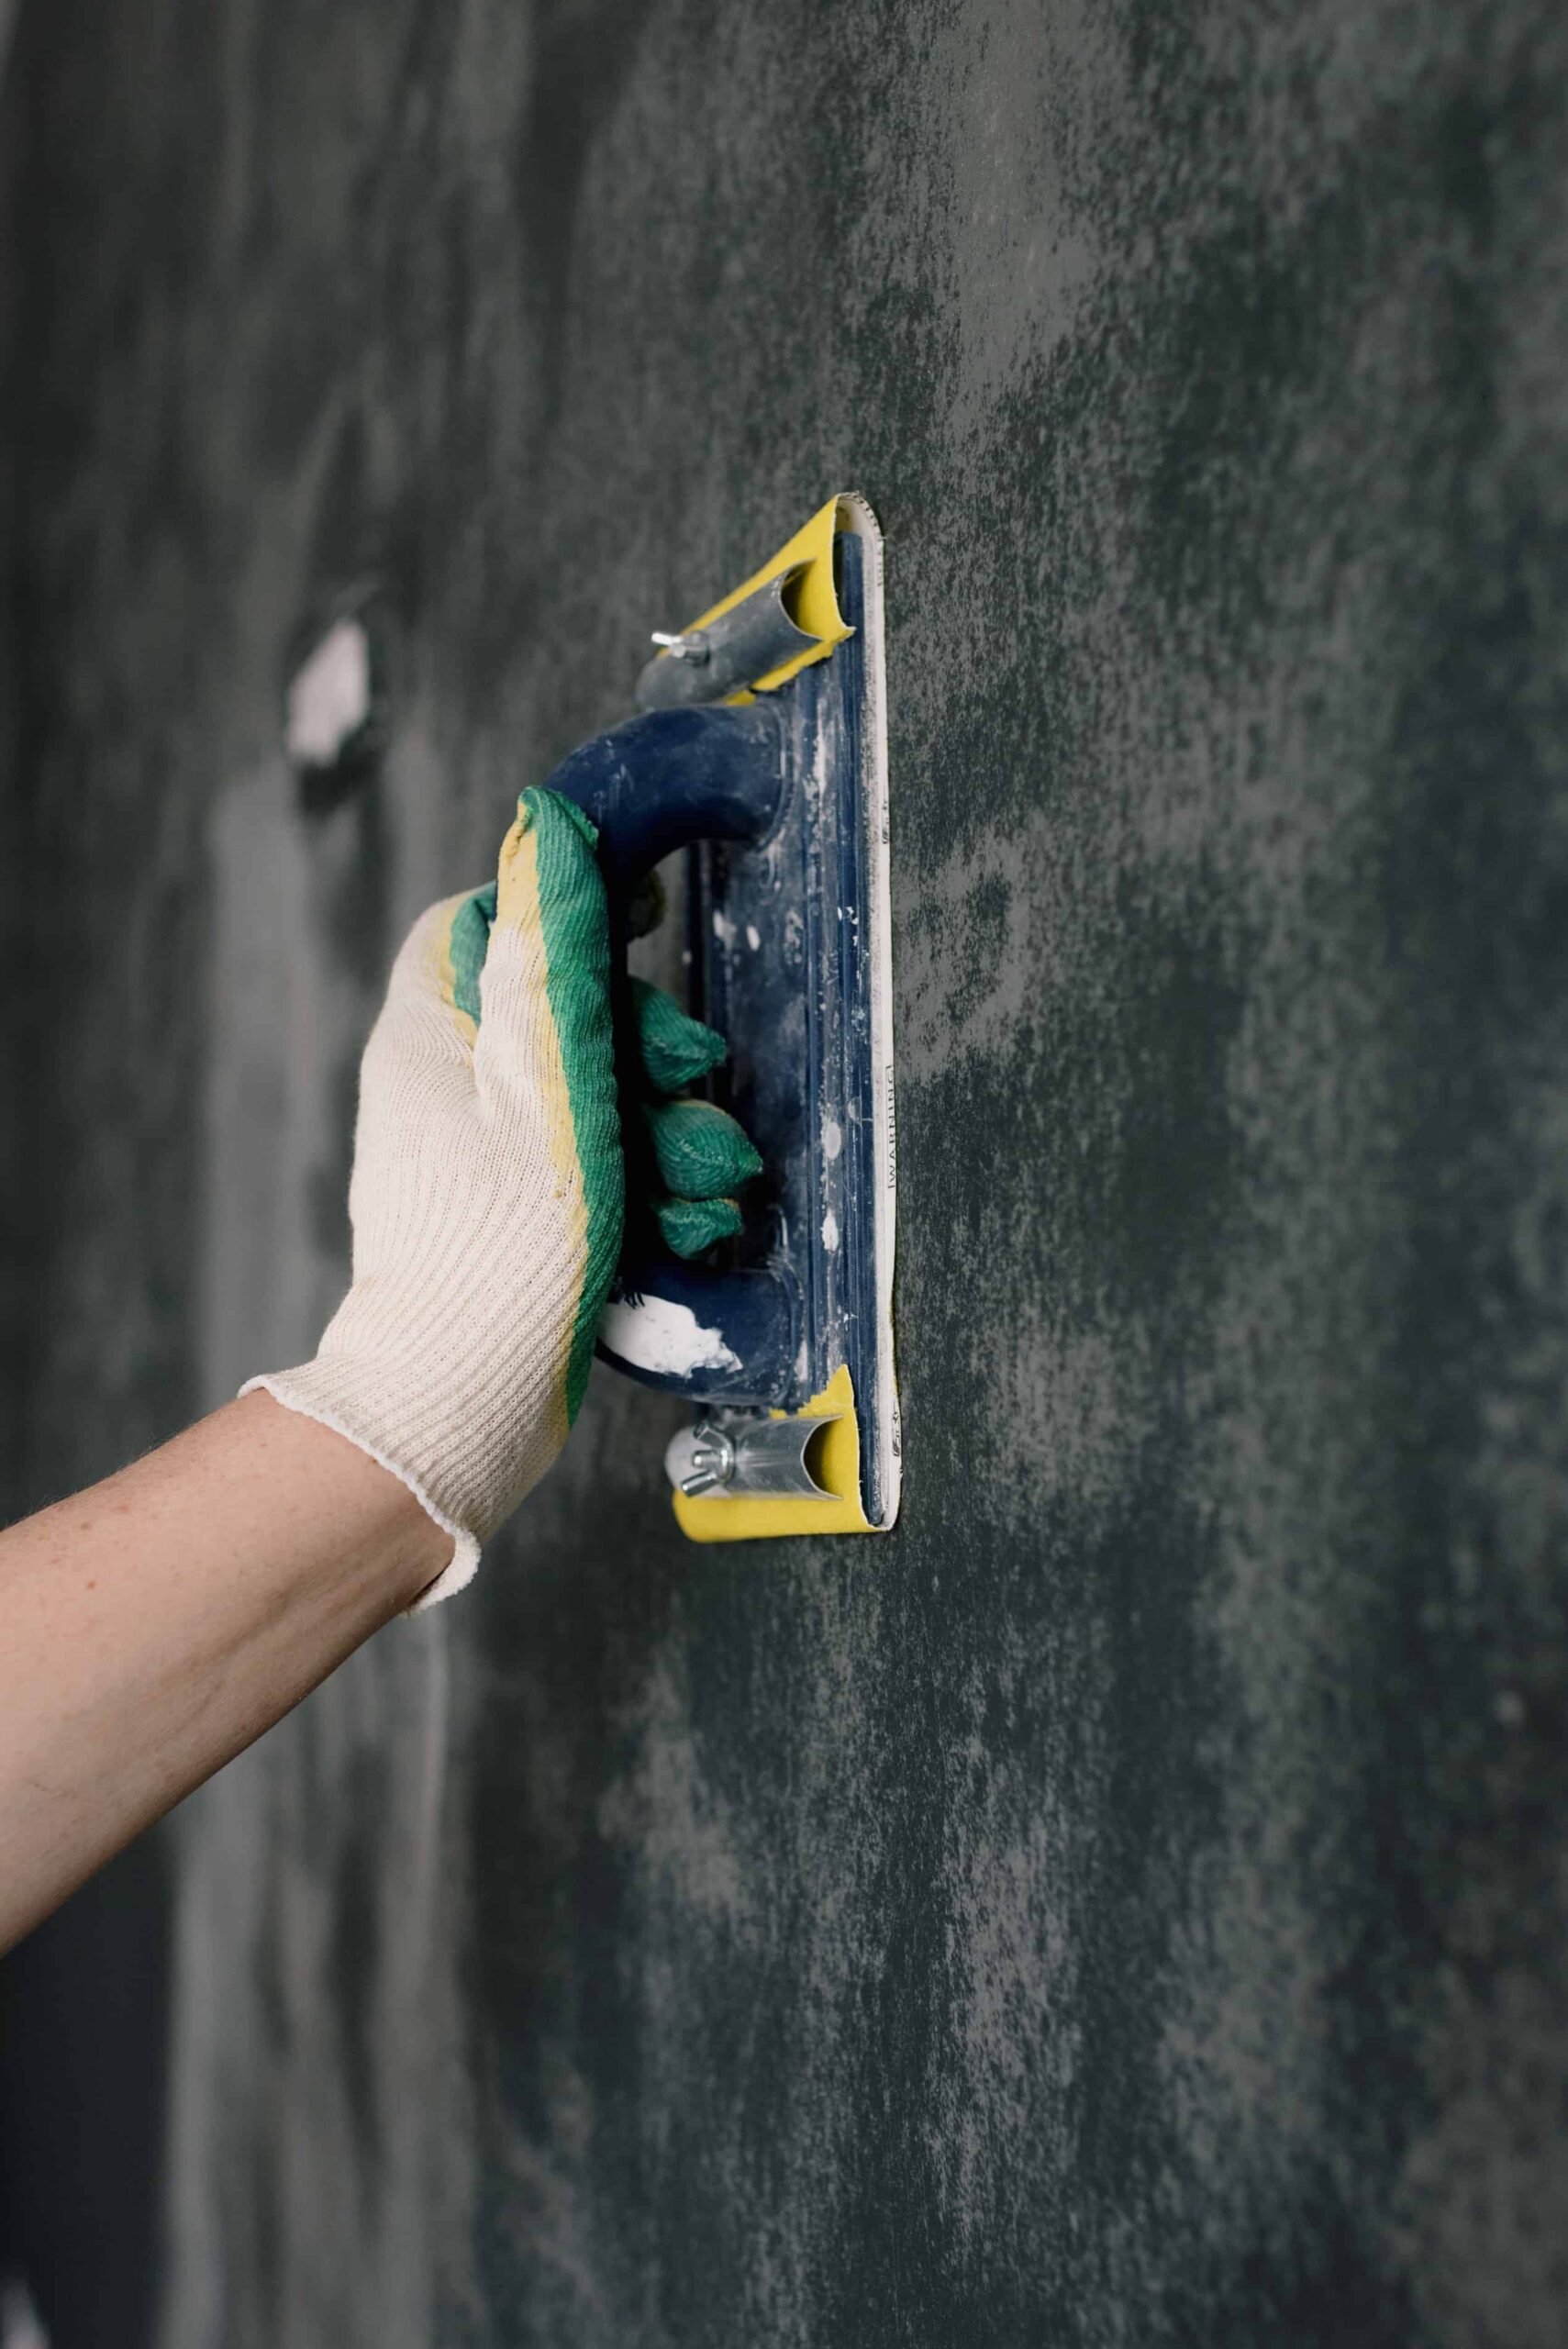
Preparation required to Remove Tile from Bathroom Wall
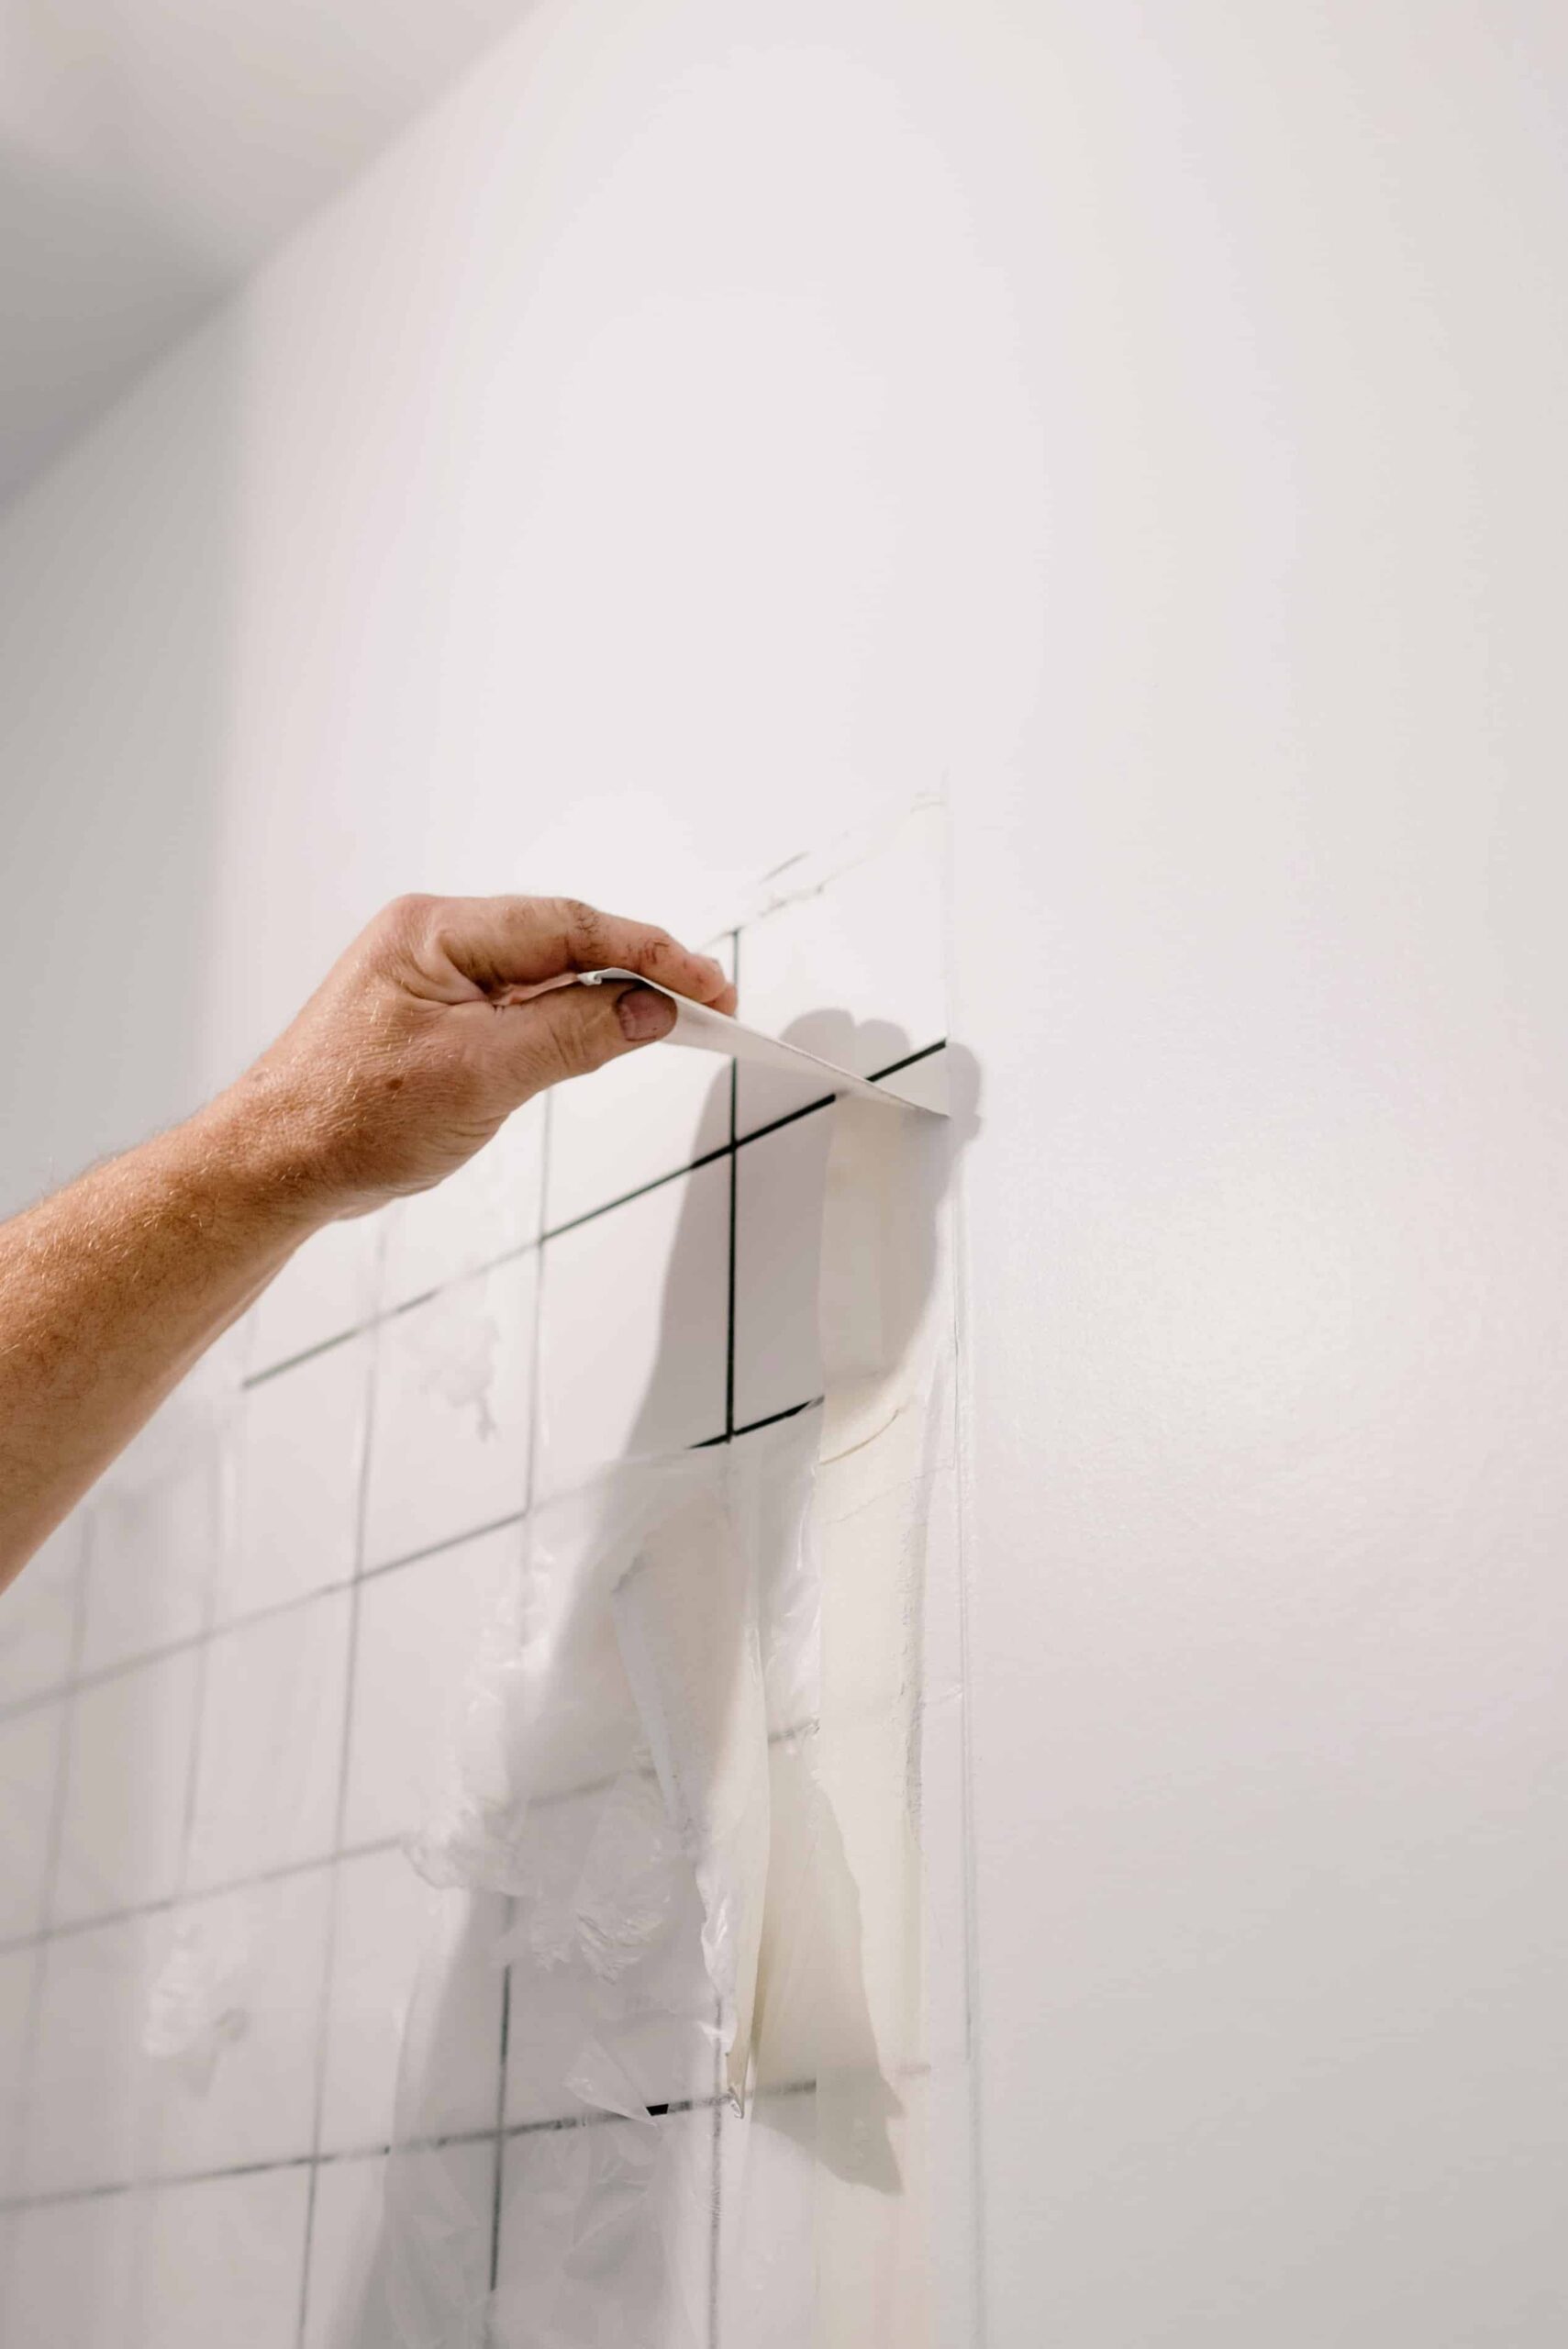
Preparation is key when it comes to removing tiles. Start by clearing the area and protecting the surrounding surfaces. Cover the floor and any fixtures near the wall with plastic sheeting to prevent damage. Put on your safety goggles, dust mask, and gloves to protect yourself during the process.
Removing the Grout
The first step in removing tiles from Bathroom walls is to get rid of the grout. Be cautious not to damage the adjacent tiles. Let’s begin!
- Start by wearing your safety goggles and dust mask to protect your eyes and lungs from dust and debris.
- Select a grout removal tool. There are a few options available, such as a grout saw or a rotary tool with a grout removal attachment. Choose the tool that suits your preference and the size of the grout lines.
- Hold the grout removal tool firmly and position it at a slight angle against the grout line. Apply gentle pressure to avoid damaging the adjacent tiles.
- Begin sawing or grinding along the grout line. Work in a back-and-forth motion, following the line’s direction. Take your time and be patient to avoid slipping and scratching the tiles.
- Continue removing the grout from one grout line at a time. It’s advisable to work in sections rather than trying to remove all the grout at once.
- Periodically clean out the debris and dust that accumulates in the grout lines as you work. You can use a vacuum cleaner, a small brush, or even a damp cloth.
- Once you have removed the majority of the grout from a section, switch to a chisel or putty knife to carefully scrape away any stubborn remnants. Be cautious not to apply excessive force, as this can damage the tiles.
- Repeat the grout removal process for all the grout lines surrounding the tiles you intend to remove.
Remember, removing grout can be a delicate task, especially if the tiles are fragile or if you lack experience. Take your time, work carefully, and use gentle pressure to prevent unnecessary damage. If you’re unsure about any step or encounter difficulties, it’s best to consult a professional or seek guidance from an expert.
Loosening the Tiles
Once the grout has been removed from the tiles of Bathroom wall, it’s time to loosen the tiles.
- Put on your safety goggles and gloves to protect your eyes and hands during the process.
- Start by locating a loose or cracked tile on the wall. This will serve as a starting point for removing the surrounding tiles.
- Use a chisel or putty knife to gently pry the loose tile away from the wall. Insert the chisel or putty knife at a slight angle between the tile and the wall surface.
- Tap the handle of the chisel or putty knife with a hammer to create a small gap between the tile and the wall. Be cautious not to apply excessive force to prevent damaging the wall or adjacent tiles.
- Once you’ve created a gap, use the chisel or putty knife to pry the tile away from the wall. Work slowly and carefully, applying gentle pressure to avoid cracking or breaking the tile.
- If the tile is stubborn and doesn’t easily come loose, you can use a hammer and a cold chisel to carefully chip away at the tile. Start by making small, controlled taps near the edges of the tile until it begins to loosen.
- Once the first tile is removed, continue working your way across the wall. Insert the chisel or putty knife into the gaps created by the removed tile and repeat the process to loosen the neighboring tiles.
- If you encounter tiles that are firmly attached, you may need to use more force or consider using a scraper or pry bar to help lift them off the wall. Again, exercise caution to avoid damaging the surrounding tiles or the wall surface.
- As you remove each tile, place them gently into a bucket or a suitable container to prevent them from breaking or causing injury.
- Continue removing the tiles in a systematic manner until you have removed all the tiles from the desired area of the bathroom wall.
Remember, loosening tiles from Bathroom wall can be a delicate process, and it’s essential to work slowly and carefully to minimize the risk of damage. If you encounter significant resistance or difficulties, it’s advisable to seek professional assistance to avoid causing unintended harm or injury.
Removing the Tiles from Bathroom Wall
After creating cracks in the tiles, its time to remove the tiles.
- After loosening the tiles using the methods described earlier, it’s time to remove them from the wall.
- Put on your safety goggles and gloves to protect yourself from any sharp edges or debris.
- Once a tile is loosened, carefully slide a pry bar or scraper underneath the tile. Position the tool at a slight angle to lift the tile away from the wall.
- Apply gentle and even pressure to lift the tile. Avoid using excessive force to prevent damaging the wall or adjacent tiles.
- If the tile doesn’t come off easily, tap the pry bar or scraper gently with a hammer to help dislodge it. Be cautious and tap lightly to avoid cracking the tile.
- Continue lifting the tile until it comes completely free from the wall. Place it gently in a bucket or suitable container to avoid breakage.
- Move on to the next tile and repeat the process. Insert the pry bar or scraper under the loosened tile and lift it off the wall. Continue this step until all the desired tiles are removed.
- Some tiles may break or crack during the removal process. If this happens, use the pry bar or scraper to remove the broken pieces from the wall. Be careful not to leave any sharp edges exposed.
- As you remove each tile, inspect the underlying wall surface. If there is any adhesive or mortar remaining, use a scraper or putty knife to carefully scrape it off. Take care not to damage the wall surface.
- Dispose of the removed tiles and debris properly, either in a trash bag or at a suitable disposal site.
- Once all the tiles are removed, assess the condition of the wall. If there are any damages or uneven areas, they can be repaired and prepared for new tiles or other finishes.
Remember, removing tiles from Bathroom wall can be a labor-intensive process, and it’s important to work slowly and carefully to minimize the risk of damage. If you’re uncertain or uncomfortable with any step, it’s advisable to seek professional assistance to ensure a successful and safe tile removal process.
Cleaning the Surface after Removing Tile from Bathroom Wall
With the tiles removed from Bathroom wall, you’ll likely be left with adhesive residue on the wall. Let’s understand how to clean the surface after removing the tiles from Bathroom wall:
- After removing the tiles, it’s important to clean the wall surface to prepare it for any repairs or new finishes.
- Begin by inspecting the wall for any remaining adhesive, mortar, or grout residue. Use a scraper or putty knife to gently scrape off any visible debris.
- Be cautious when scraping to avoid damaging the wall surface. Apply gentle pressure and work in small sections.
- If there are stubborn residue spots that are difficult to remove with scraping alone, you can try using a chemical adhesive remover or grout haze remover. Follow the instructions on the product carefully and ensure good ventilation in the area.
- Apply the adhesive remover or grout haze remover to a clean cloth or sponge, then gently rub the affected areas on the wall. Allow the product to sit on the residue for the recommended amount of time, as specified on the product label.
- After the recommended time, use a clean cloth or sponge dampened with water to wipe away the adhesive remover or grout haze remover, along with the loosened residue. Rinse the cloth or sponge frequently to avoid spreading the residue.
- If the wall surface is stained or discolored, you can try using a mild detergent or a mixture of warm water and vinegar. Dampen a cloth or sponge with the cleaning solution and gently scrub the stained areas.
- Rinse the cloth or sponge frequently and continue scrubbing until the stains are removed. Avoid using abrasive cleaners or scrub brushes that can damage the wall surface.
- Once the wall is clean, use a clean, damp cloth or sponge to wipe down the entire surface, removing any remaining cleaning solution or residue.
- Allow the wall to dry completely before proceeding with any repairs or applying new finishes. It’s important to ensure the wall is dry to prevent issues such as mold or damage to new materials.
Remember, cleaning the wall thoroughly after removing the tiles is crucial for a smooth and successful renovation or tiling project. Take your time, work gently, and choose appropriate cleaning products to avoid damaging the wall surface.
Repairing the Wall after Removal of Tile from Bathroom Wall
After removing the tiles and cleaning the wall, you may notice some damage or imperfections. Let’s begin with Repairing the Wall.
- Inspect the wall for any damage, holes, or uneven areas that require repair. Common issues may include holes from removed tiles, cracks, or dents.
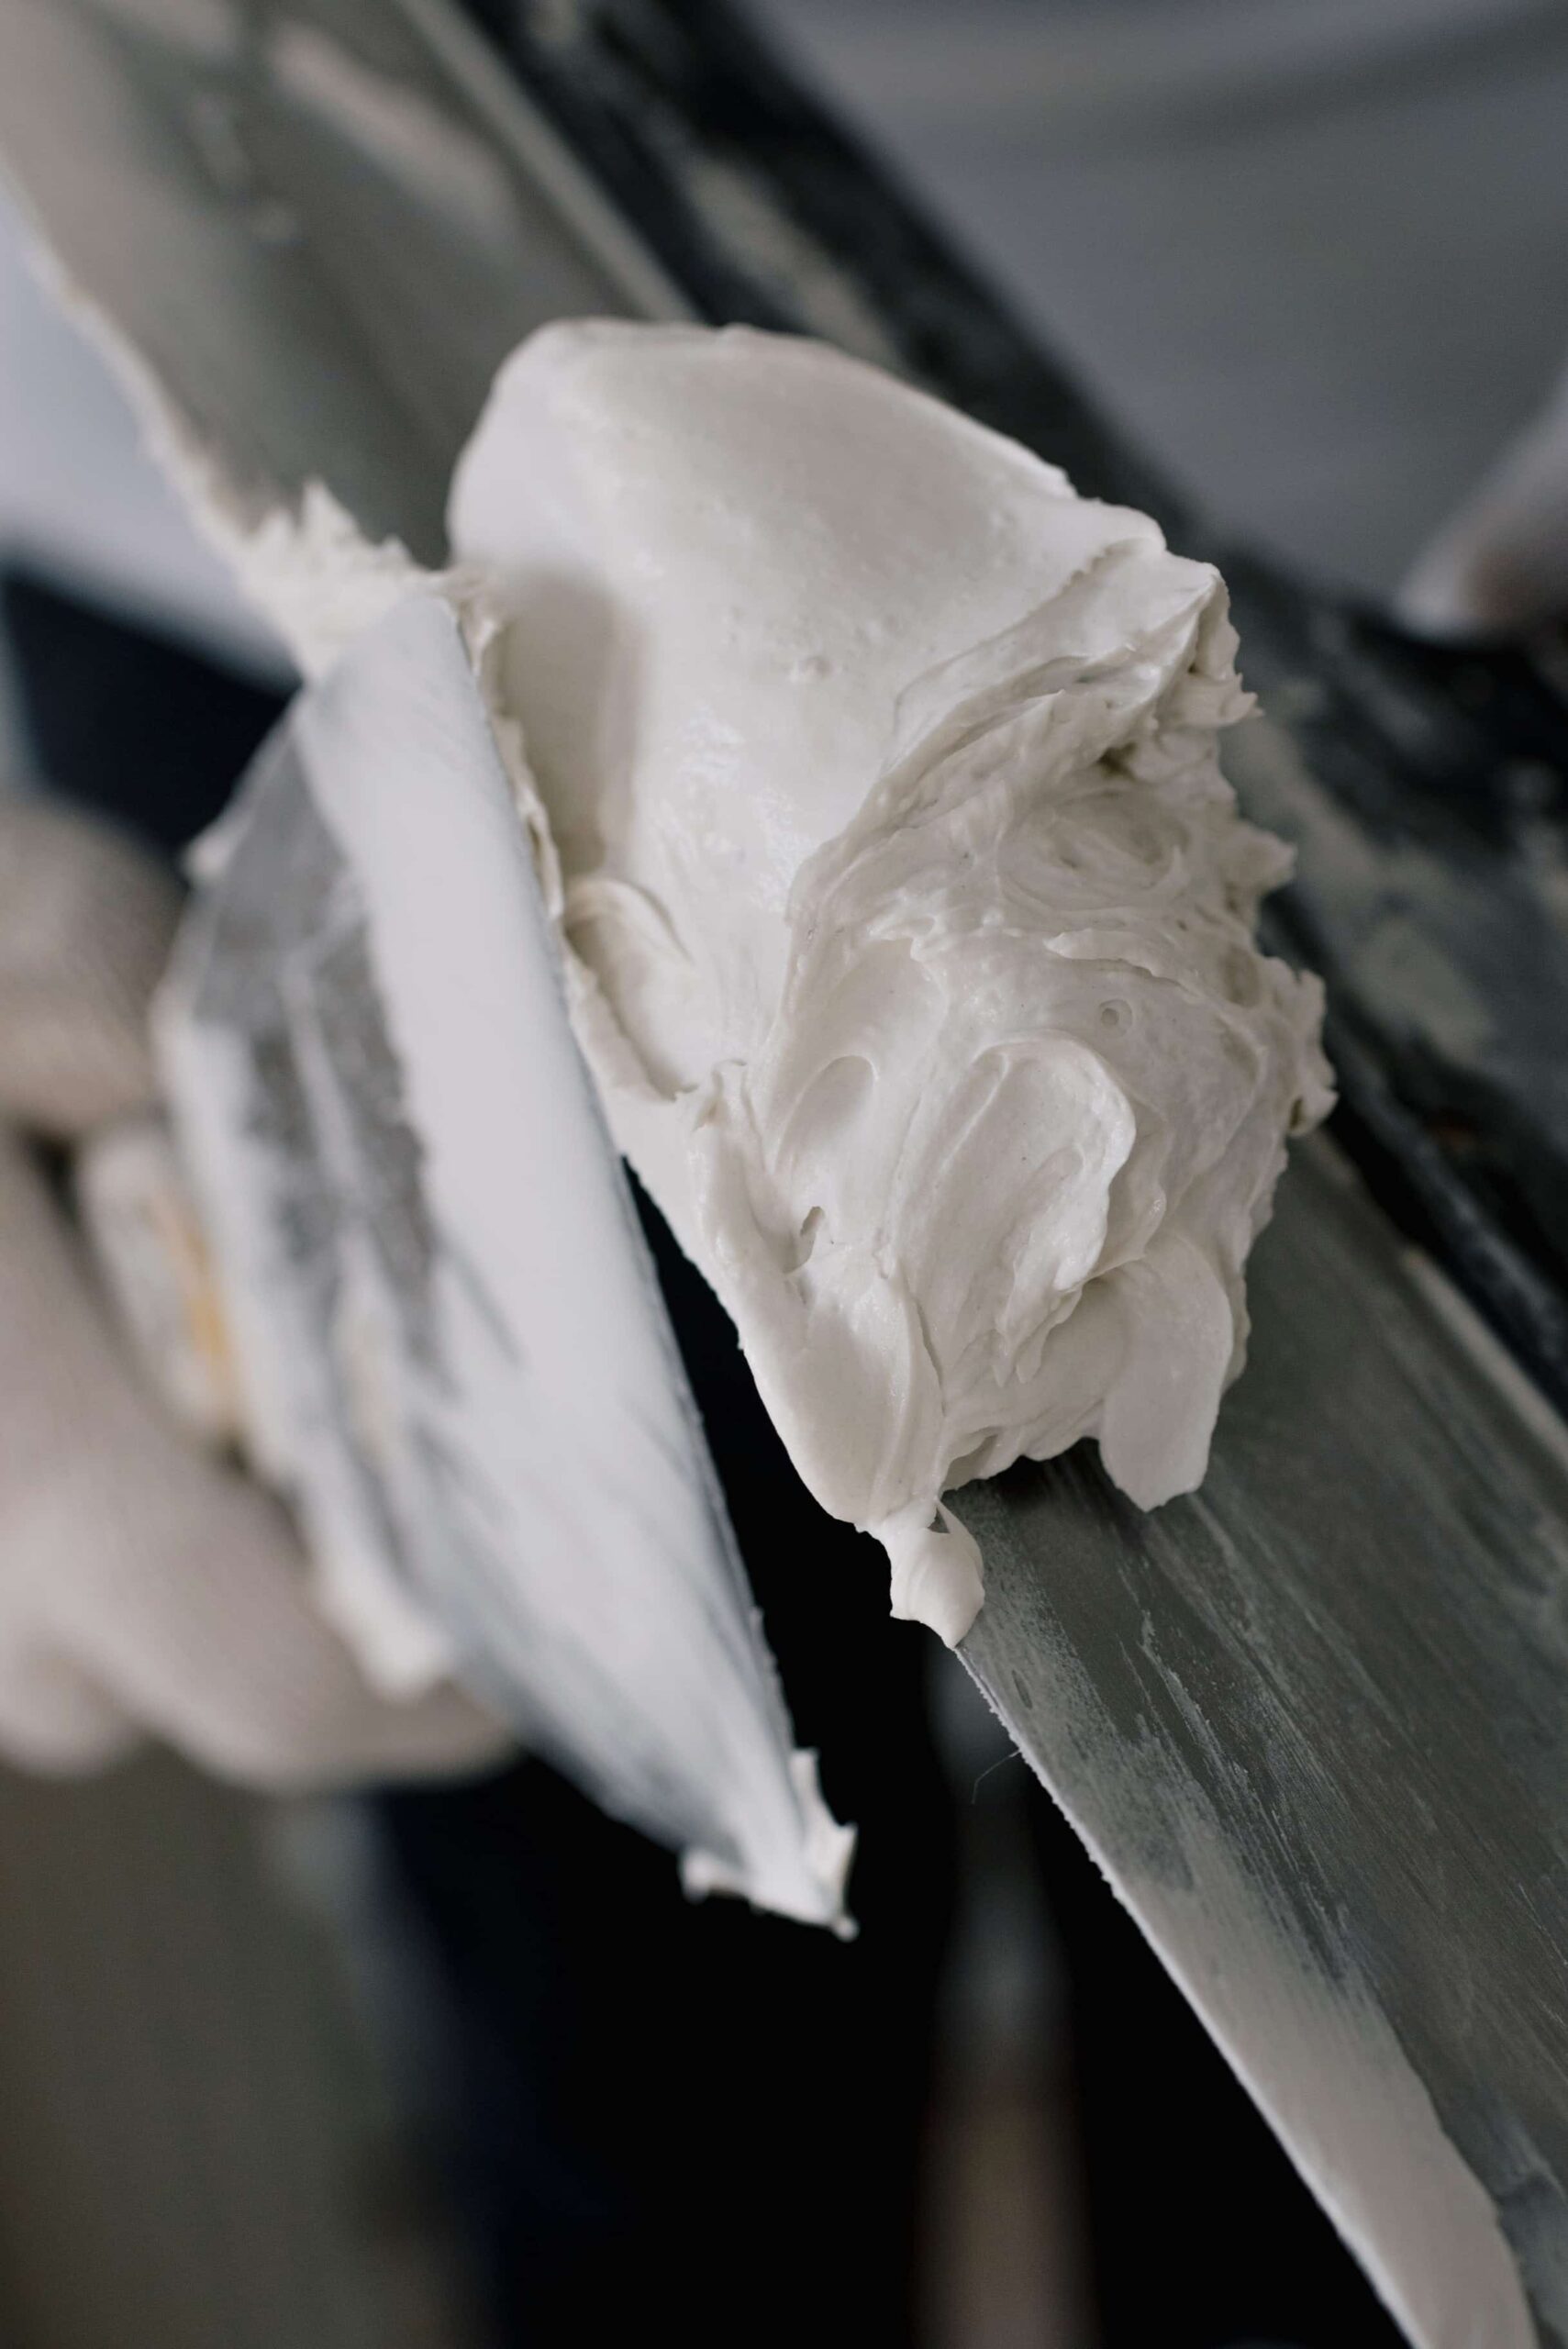
- If there are small holes or cracks in the wall, you can use a spackling compound or joint compound to fill them. Start by cleaning the area around the hole or crack to remove any debris or loose material.
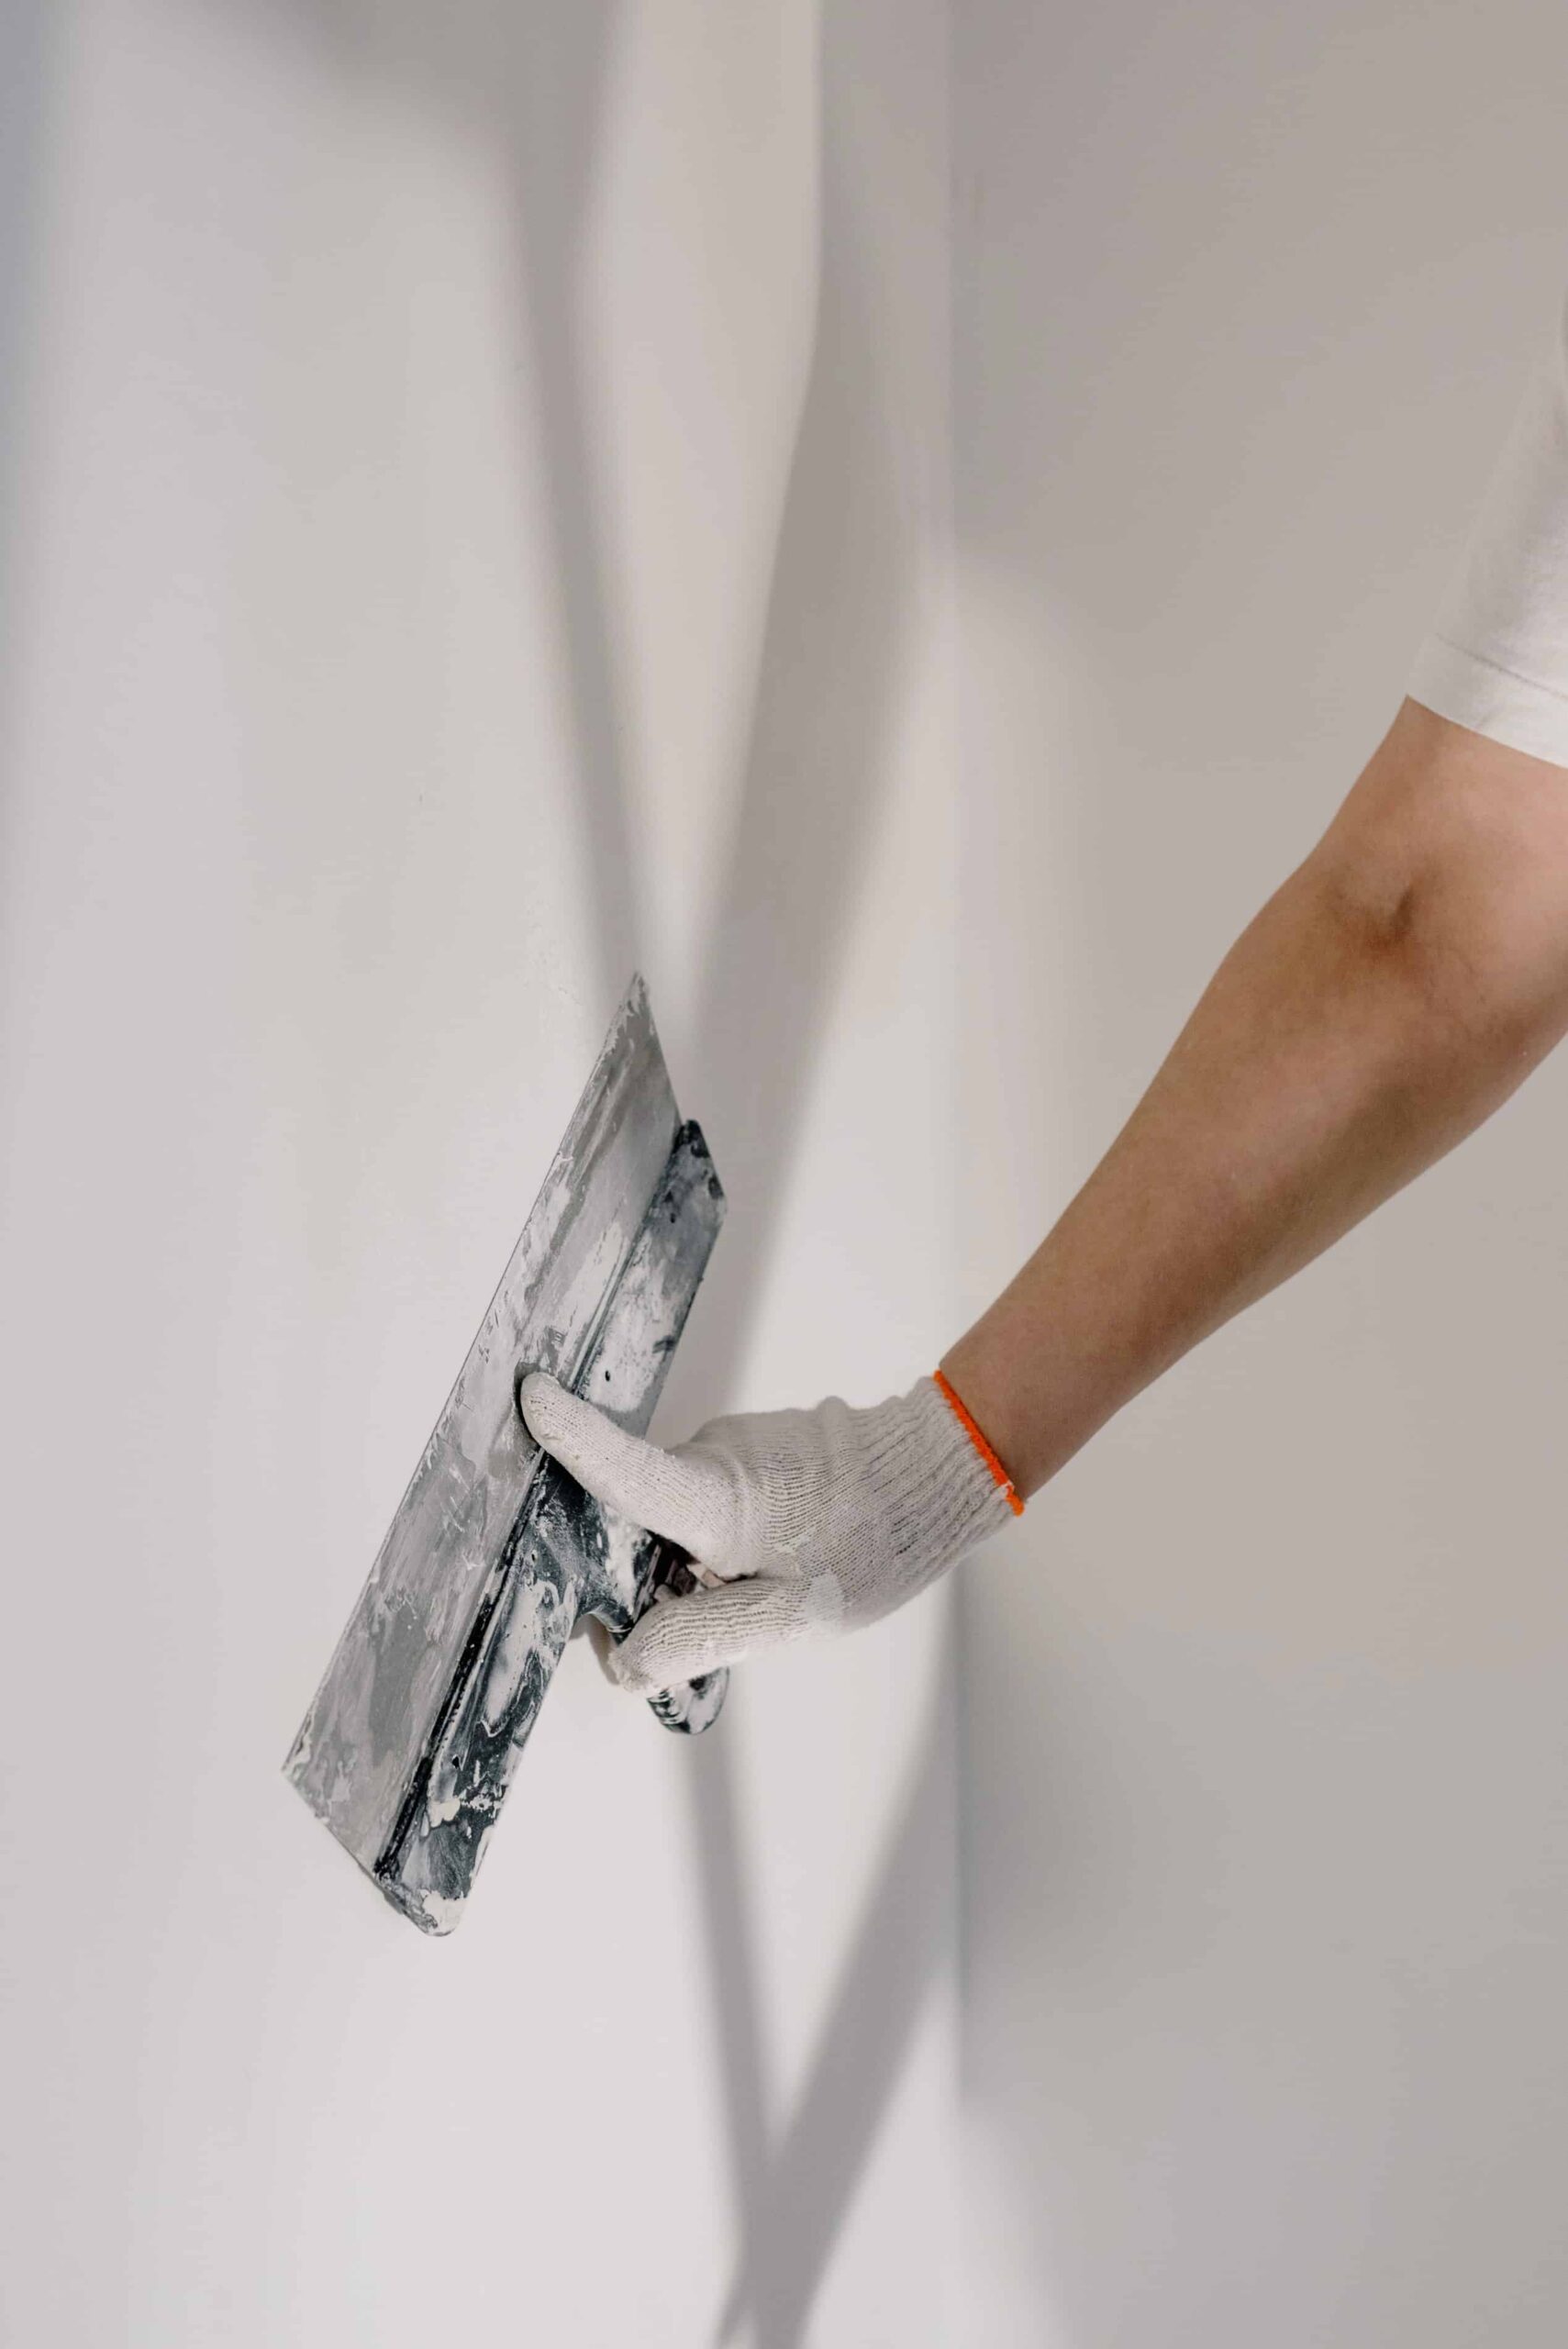
- Use a putty knife to apply the spackling compound or joint compound to the damaged area. Fill the hole or crack, ensuring that the compound is level with the surrounding wall surface. Smooth out the surface with the putty knife.
- Allow the compound to dry completely according to the manufacturer’s instructions. This typically takes several hours or overnight.
- Once the compound is dry, use sandpaper or a sanding block to smooth the repaired area. Sand gently in a circular motion to blend the repaired section with the rest of the wall surface. Wipe away any dust with a clean cloth.
- If the wall has larger damaged areas or uneven sections, you may need to consider applying a patching compound or joint compound. Clean the area thoroughly and follow the manufacturer’s instructions for applying and drying the compound.
- After the repaired areas are dry and smooth, you can prime the wall if necessary. Priming helps create an even surface and ensures proper adhesion of paint or new tiles.
- Apply a coat of primer to the repaired areas, following the instructions on the primer product. Use a paintbrush or roller to evenly coat the repaired sections. Allow the primer to dry completely before proceeding.
- Once the primer is dry, you can proceed with the desired finish for the wall. This could involve painting the wall or applying new tiles. Follow the appropriate instructions for the chosen finish.
Remember, the repair process may vary depending on the extent of damage and the type of wall material. It’s important to read and follow the instructions provided with the repair products you use. If you’re uncertain about the repair process or feel uncomfortable with the repairs, it’s recommended to seek professional assistance to ensure a proper and satisfactory result.
Conclusion
Removing tiles from your bathroom wall can be a challenging task, but with the right approach, it can be accomplished successfully. By following the step-by-step guide outlined in this article, you’ll be able to remove the tiles efficiently and prepare your wall for a fresh new look. Remember to prioritize safety and take your time throughout the process to achieve the best results.
FAQs on How to Remove Tile from Bathroom Wall
1. What is the easiest way to remove tile from a bathroom wall?
The easiest way to remove tile from a bathroom wall is to start by loosening a tile using a hammer and chisel, then carefully pry it off. Continue this process for the remaining tiles, ensuring you wear protective gear. Finally, clean off any adhesive residue and prepare the surface for new tiling.
2. How do you remove tile from a wall without destroying the wall?
To remove tile from a wall without damaging it, use a grout saw to remove grout between tiles. Then, gently pry tiles off using a putty knife or chisel. Apply heat if needed. Avoid excessive force, and take your time. Clean off adhesive residue and repair any minor wall imperfections before retiling.
3. How do you remove wall tiles without damaging drywall?
To remove wall tiles without damaging drywall, follow these steps: First, use a grout saw to remove the grout around the tiles. Then, carefully insert a putty knife or chisel behind the tiles and gently pry them off. Take your time and avoid applying excessive force to protect the drywall.
4. How hard is it to remove tile from Bathroom Wall?
The difficulty of removing tile from a bathroom wall can vary depending on factors such as the type of tile, adhesive used, and the condition of the wall. It generally requires some effort and patience, as well as the right tools and techniques. With proper care and precautions, it is a manageable DIY task for most individuals.
5. How to change bathroom tiles without removing them?
Changing bathroom tiles without removing them is not possible. To replace bathroom tiles, you need to remove the existing tiles first. This involves removing grout, prying off the tiles, and cleaning the surface. Then you can install new tiles using appropriate adhesive and grout.
6. How to remove wall tile to reuse?
Changing bathroom tiles without removing them is not possible. To replace bathroom tiles, you need to remove the existing tiles first. This involves removing grout, prying off the tiles, and cleaning the surface. Then you can install new tiles using appropriate adhesive and grout.
7. Which is the best tool for removing wall tiles?
The best tool for removing wall tiles is a power tool called an oscillating multitool with a grout removal blade or a tile chisel attachment. This tool allows for precise and efficient removal of grout and tiles without causing excessive damage to the surrounding area.


Pingback: Jack and Jill Bathroom Ideas: 58 Functional and Stylish Idea - House N Villas